Scrappy Eggs
(This post includes unpaid advertising)
A lot of small scraps of fabric from my previous Kona Cotton projects ended up in my stash box. Too few and too small for other projects and too many, to simply dispose of them in the residual waste.
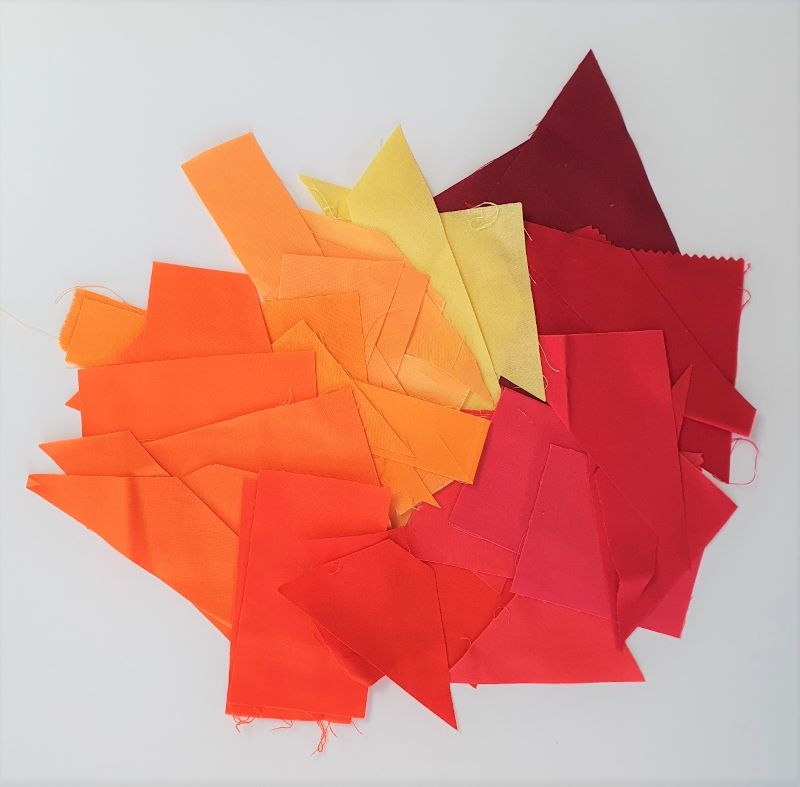
So I started first, sew them together. With the intention, then stow them in a box. Up to a suitable idea.
But this idea came faster, when I thought: When looking for a suitable pattern for Easter eggs, I didn't really find it. Then I remembered my sewn-together scraps of fabric!
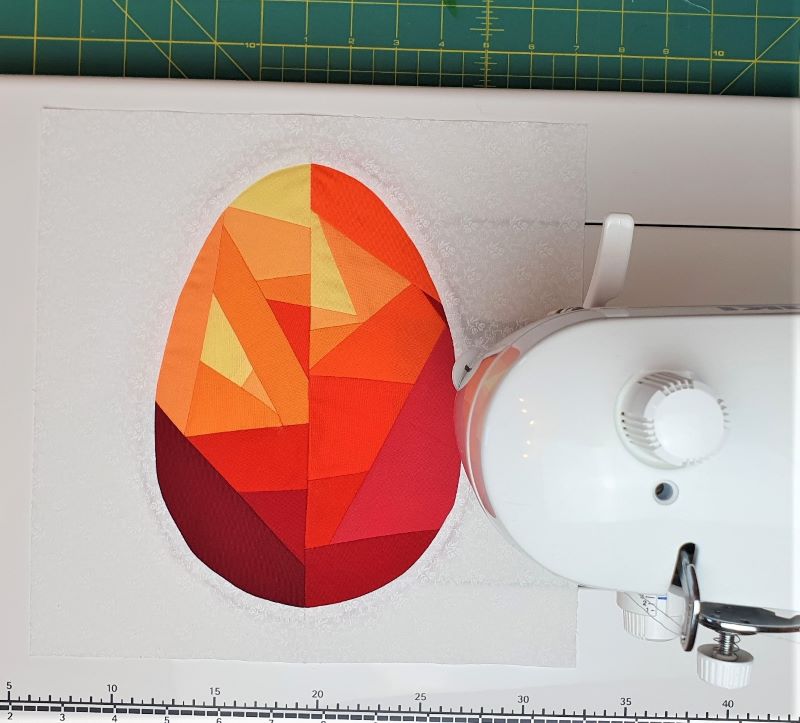
With the help of the computer program EQ8 (Electric Quilt 8) I designed some Easter eggs. It was important to me this time, to create instructions, which works without the foundation paper piecing method. And There you go!
Whoever feels like it, this “Scrappy Egg” to re-sew, You can find the instructions on my website below “Free Pattern” .
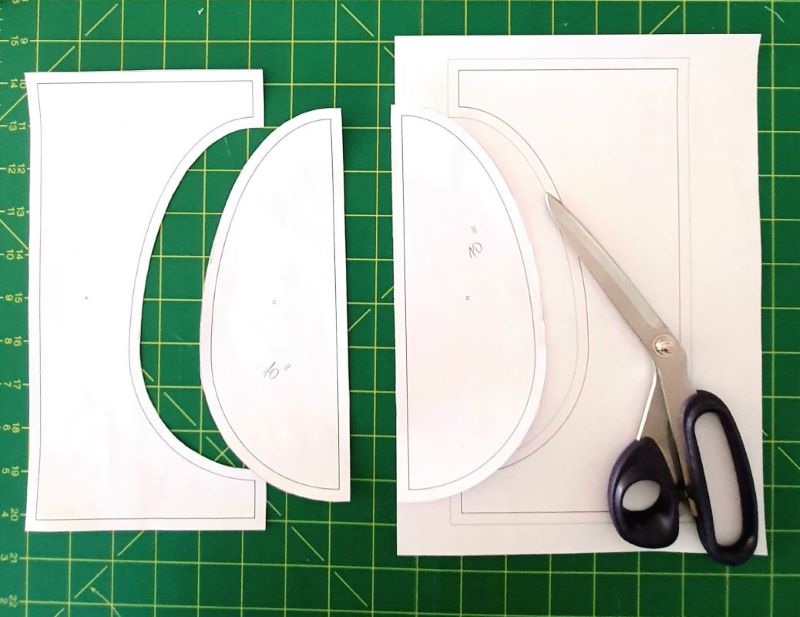
What should I do? After downloading the file, do you print the pattern pieces in the size you want (8″, 10″ or 12″) out. For the 12th″-Block you have to put the parts A and B together. You must then have a height of 12″ at the end. Pay attention to it, that the printer is set with the current size. In the instructions there is a 1 inch control square for re-measuring. Then you cut out the pattern pieces. The seam allowance of 1/4″ is already included.
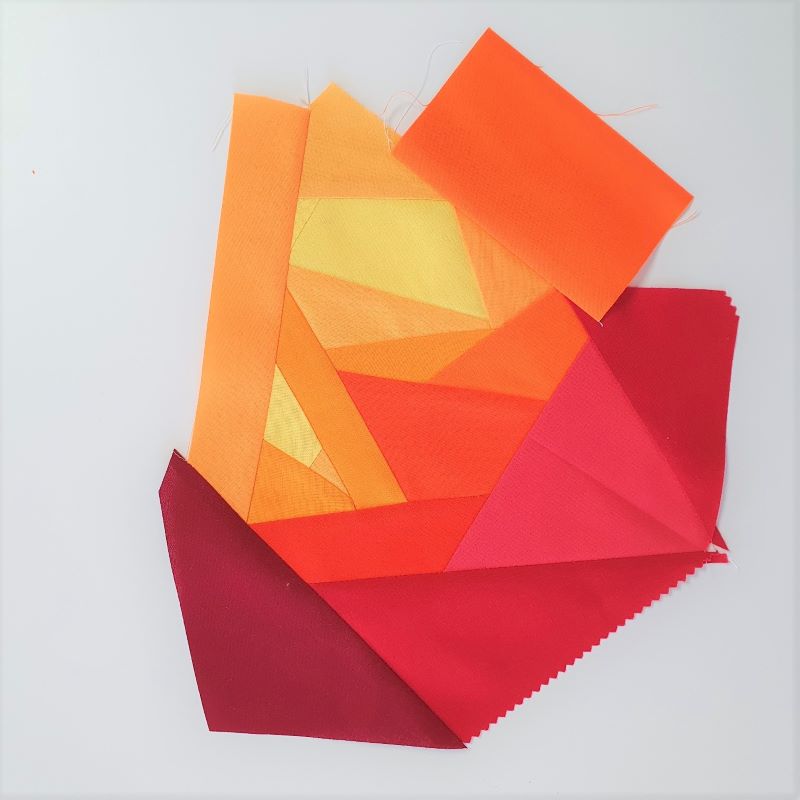
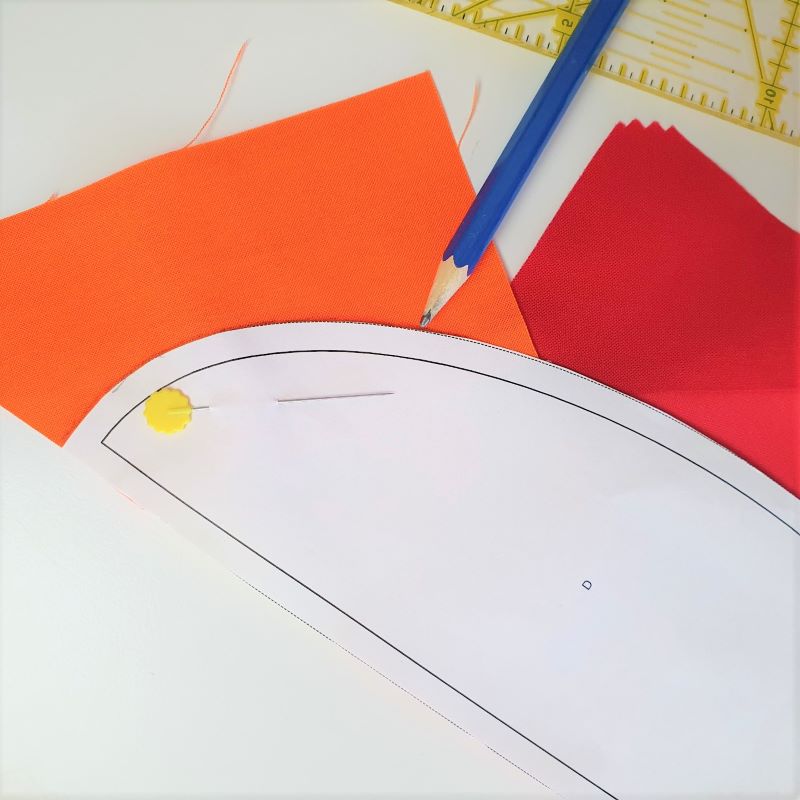
Lay the egg halves on top of the sewn-together scraps of fabric.

And stuck it. With a pen you mark the outlines on the fabric.
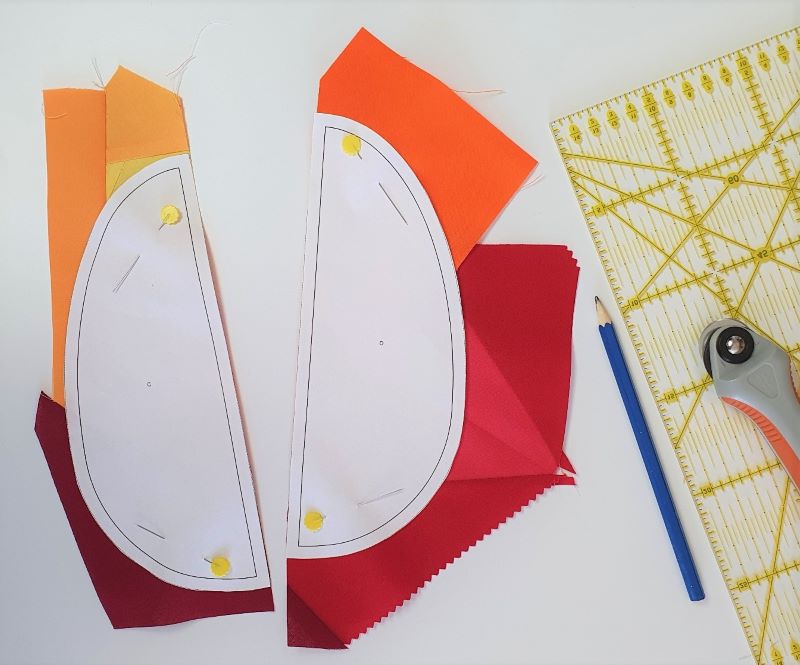
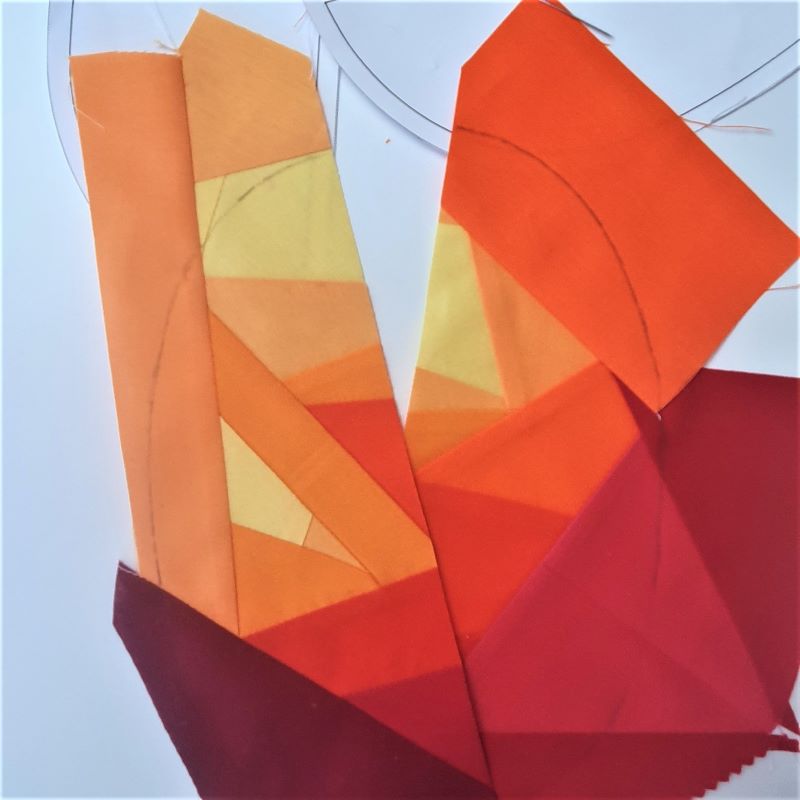
Then the two halves are cut out.
Place the other two pattern pieces on the background fabric and cut it out. (Here in the picture there is a part that has already been inserted and cut out on my background fabric.)

Now an egg half and a piece of background fabric are sewn together right sides together. There are different methods here. Many only mark the beginning and end of the seam with a pin each. Some sew without pins. I am not yet very practiced with sewing curves, so I put the entire seam …
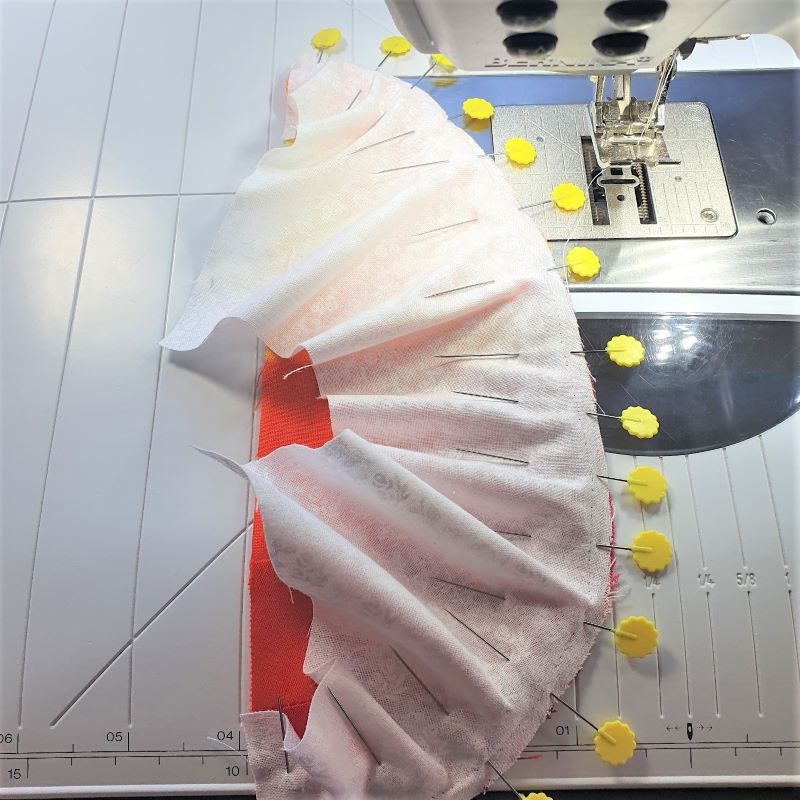
… and carefully sewn the curve. Now the white fabric is ironed outwards. Unfortunately I failed to take a picture here. On, in any case, you do the same thing again with the other half. Then both halves are placed right sides together and in the middle of the egg, sewn together lengthways.
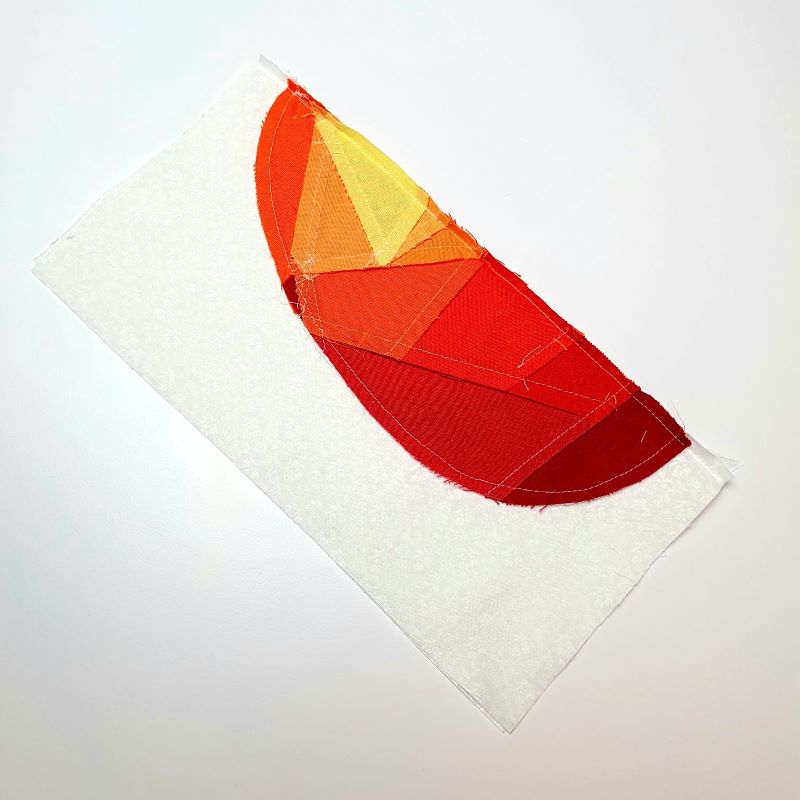
On the back it looks like this:
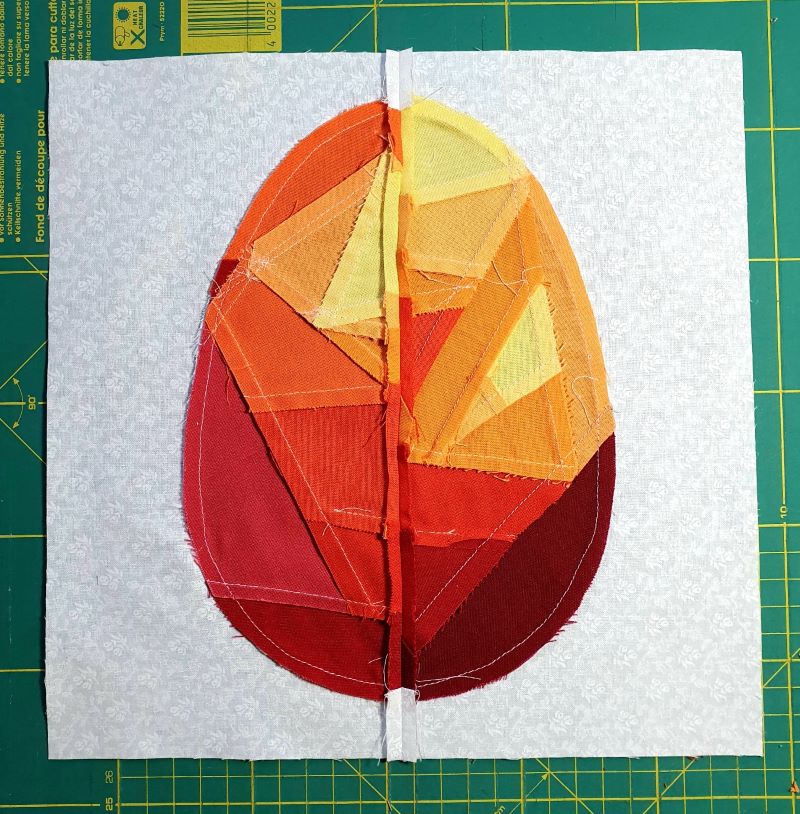
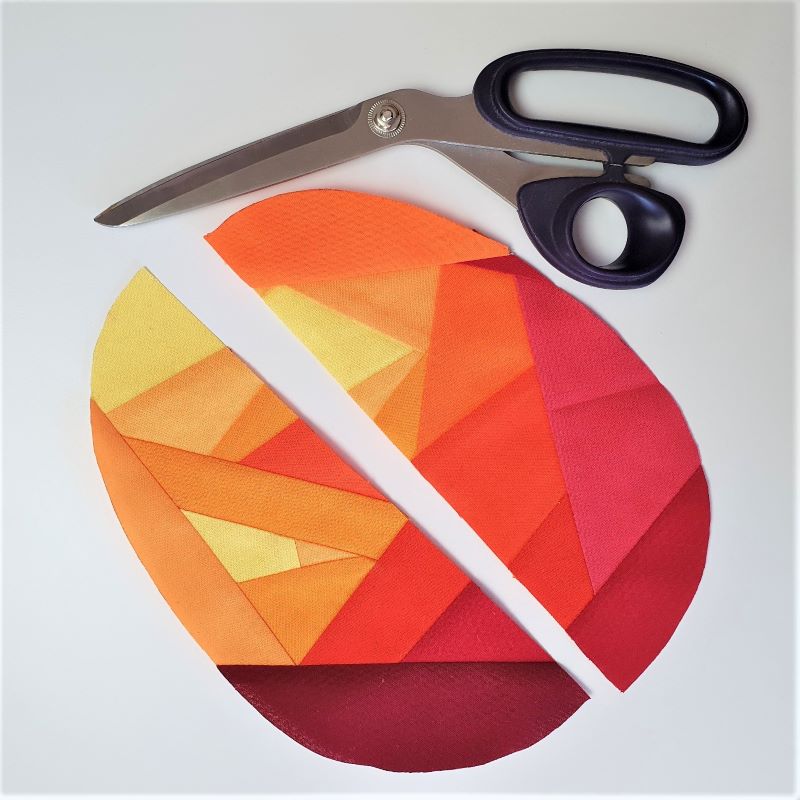
And from the beginning like this:
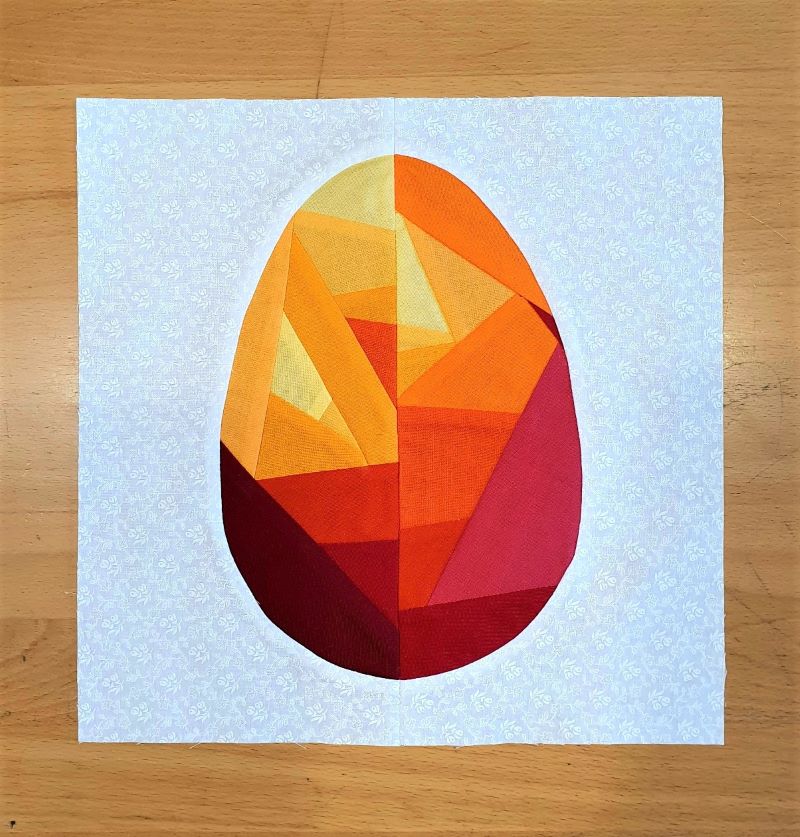
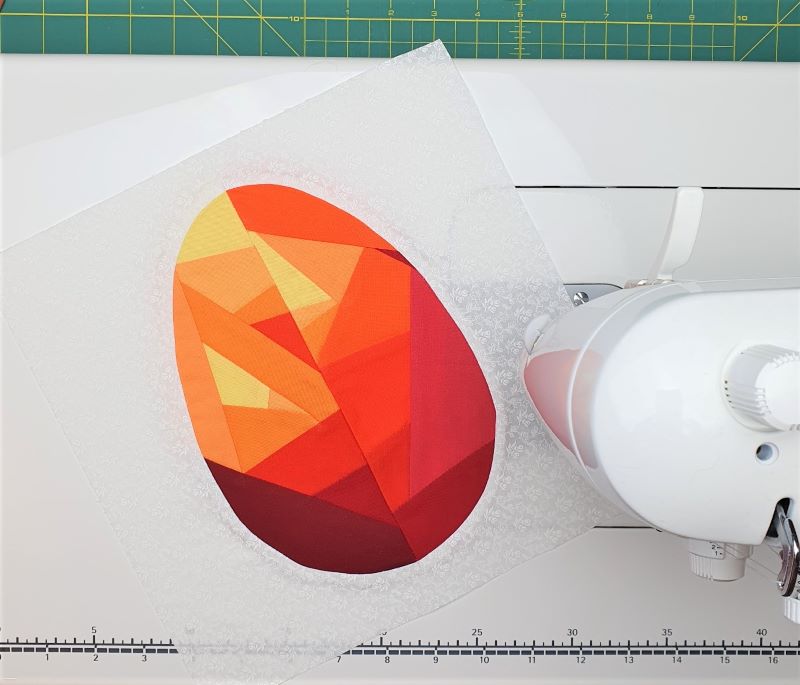
The great thing is, you can use all kinds of fabrics to sew the “Scrappy Egg” fabrics. It doesn't have to be universities. There are no limits to your imagination! And finally, the individual blocks can be put together to form a top of any size. Also, I wish you a lot of fun sewing!
Happy sewing and see you soon!
Ines
![]()