BERNINA Q-matic
(This post includes unpaid advertising)
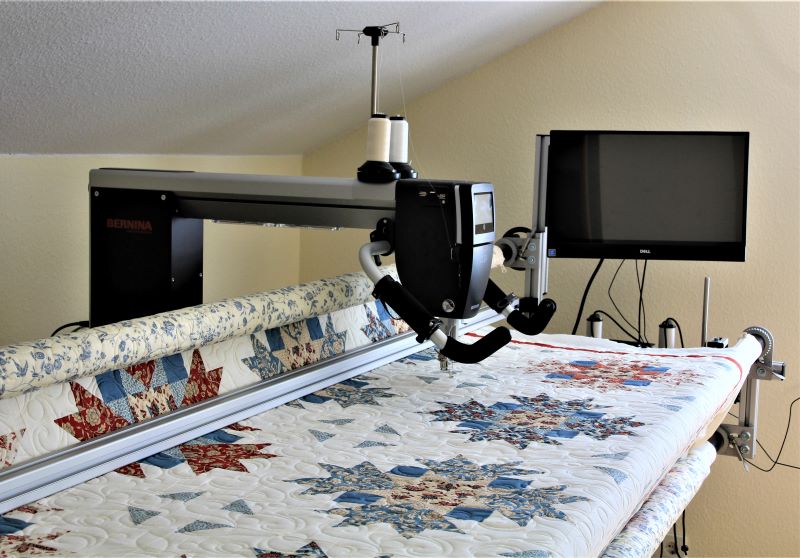
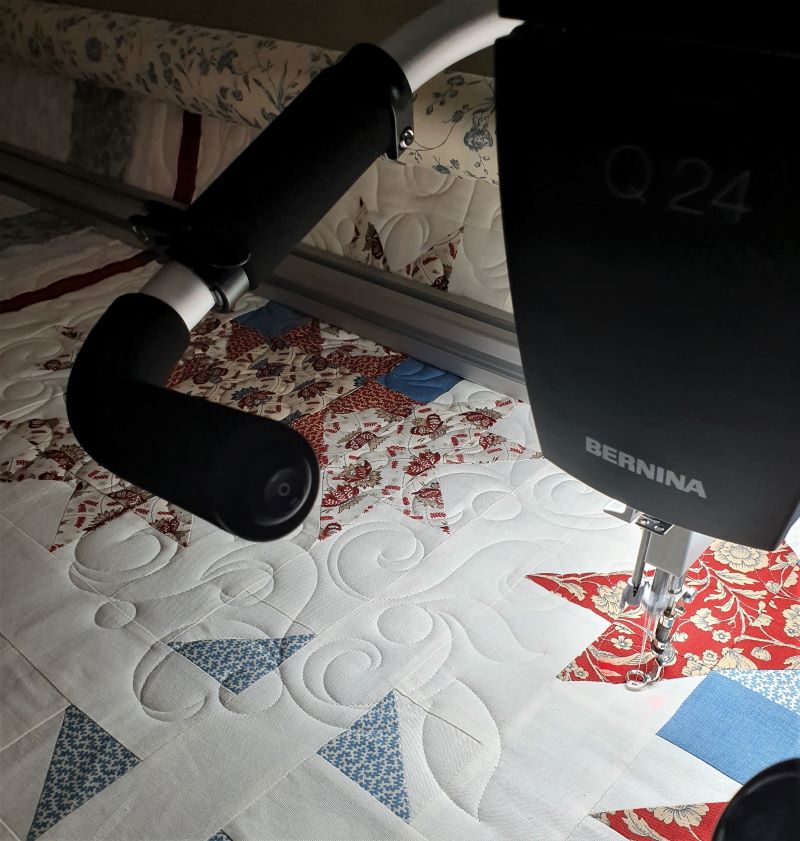
With the purchase of Longarm Q24 Bernina, I decided to purchase the computer-assisted quilting program Q-matic by Bernina. And I haven´t regretted it a single second.
Unfortunately, you´re not able to buy the program directly from your Longarm dealer . You have to order it separately in the US, from where it´s flown to you. That worked smoothly. In addition, the program itself and the accompanying instructions are written in English. And there is no comprehensive training offered. So one has to courageously, and with the help of some videos (all in English), approach the “Thing” slowly. Since the program is very user-friendly, it´s not really a big problem . I worked my way forwards step by step. In the beginning there were individual squares or Borders. I now would like to complete this quilt, using pantograph-patterns.
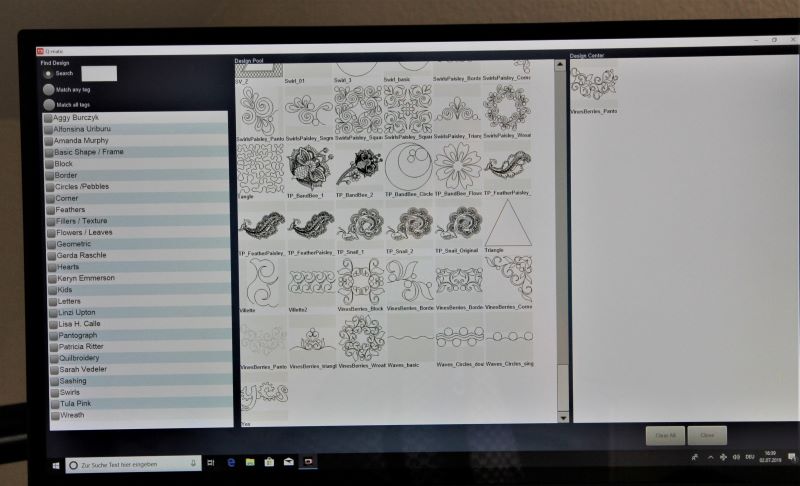
Whether by hand, Longarm or computer, the first question remains the same: “What pattern should I use?” And you´re spoiled for choice. Because in the “Design Center” of the Q-matic, there are already 280 and in the additional program “Art & Stitch” (You can design their own pattern) in addition 350 patterns. Lets stick to the “Design Center”:
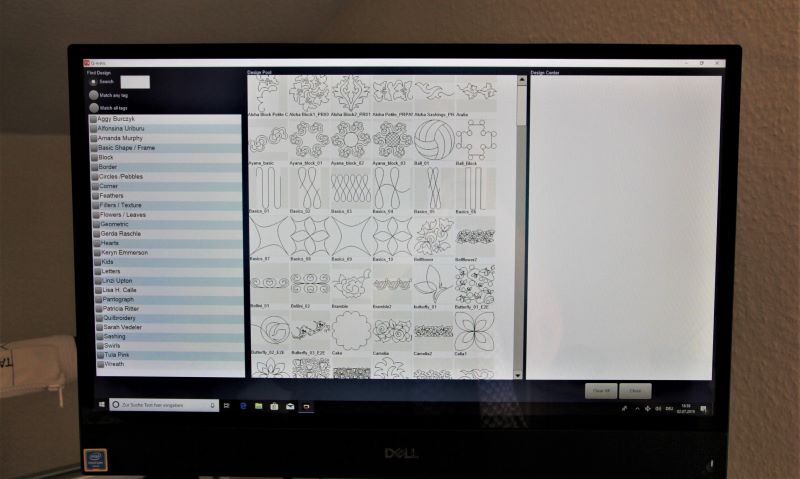
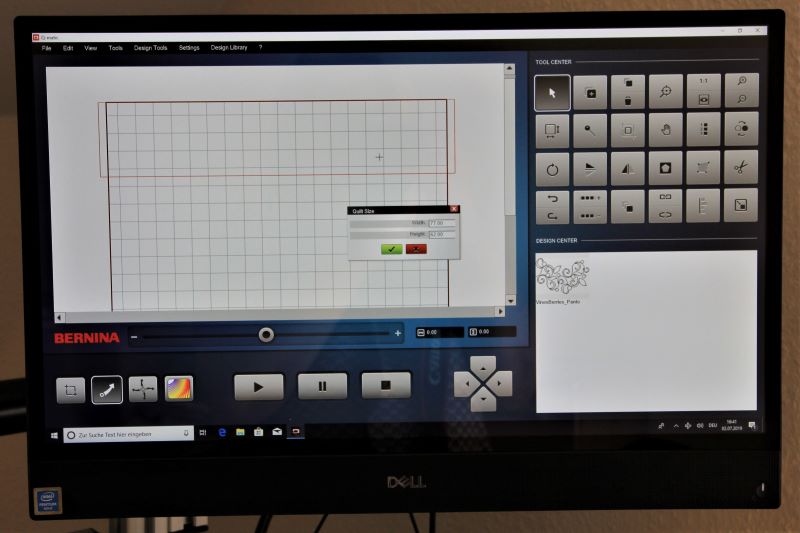
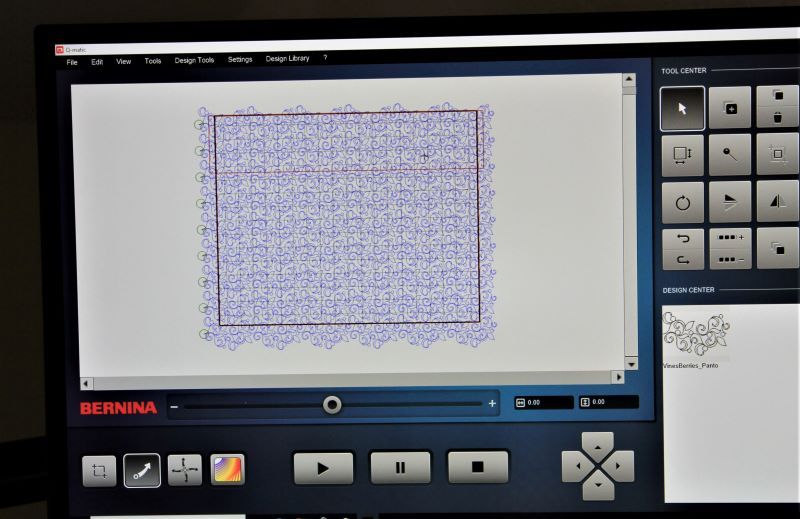
For a general overview, I have photographed the entire screen. Afterwards, I decided for the pattern “VinesBerries_Panto”, a pantograph pattern. Double-clicking on the pattern in the middle column (“Design Pool”we) it to the right column (“Design Center”duplicated).
Now close the page. A new window opens, the “Editing Display” (Left) with the appropriate tools (top right) and the Design Center (bottom right).
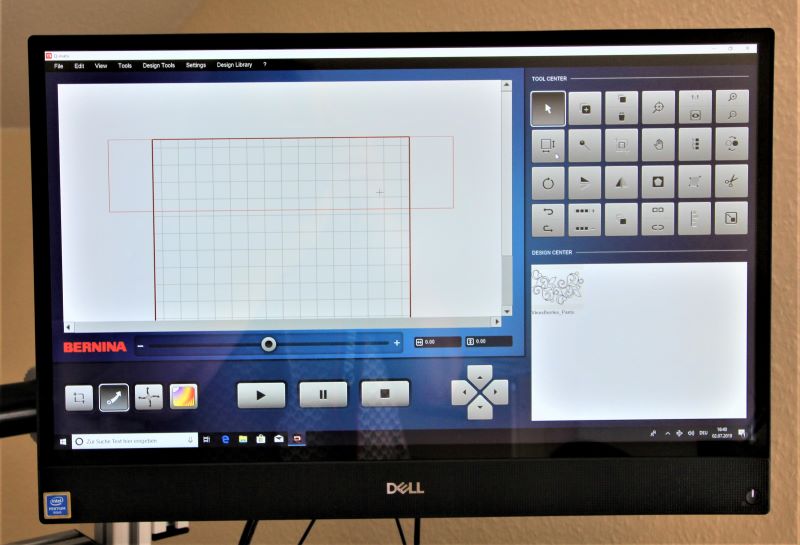
Now begins the actual “job”. First you determine your “Safe Area” .. This is the area, in which we´re going to quilt . Seen here as the flat red square. With the needle position of the Longarm, you define the point at the top left corner of the quilt and confirm it. The same process with the point at the bottom right, followed by a comfirmation on the display of the Longarm. After that, using the function “Quilt Size” Width and height of my quilts input (i.e., the dark red lines).
Double-click on my previously chosen pattern on the bottom right we automatically lift it to the left into the “Editing Display” .. I have postponed it to the upper left.
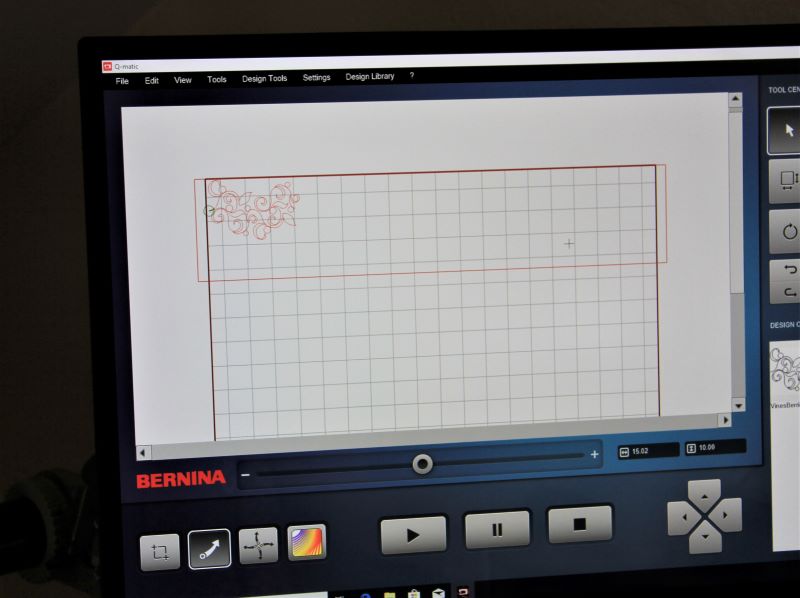
I now have the opportunity, to change the pattern. So to reduce or enlarge, cut out or to attach parts. I leave it in the original size. I would like, that the quilt remains “movable” ,, and is not quilted too densely.
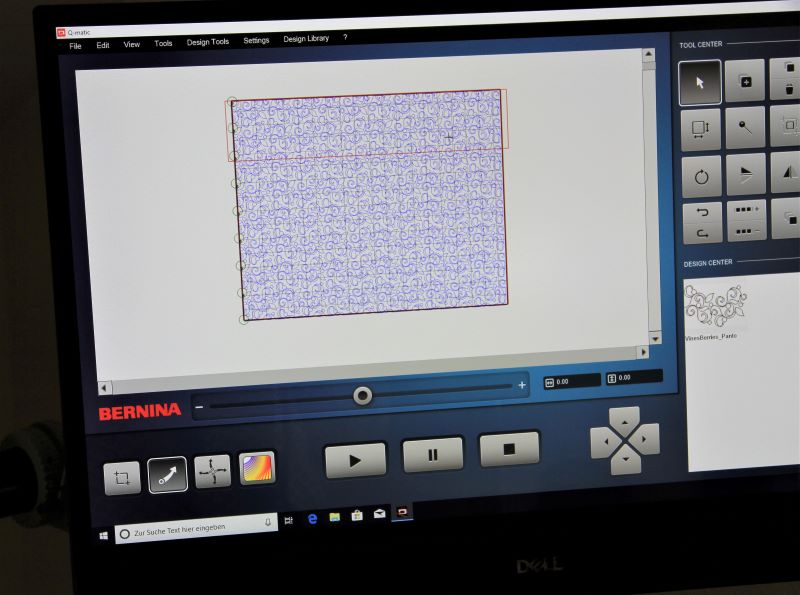
With the function “E2E More” (Edge to Edge +) I copy the pattern horizontally so often, until it´s spread across the complete width of the quilt.

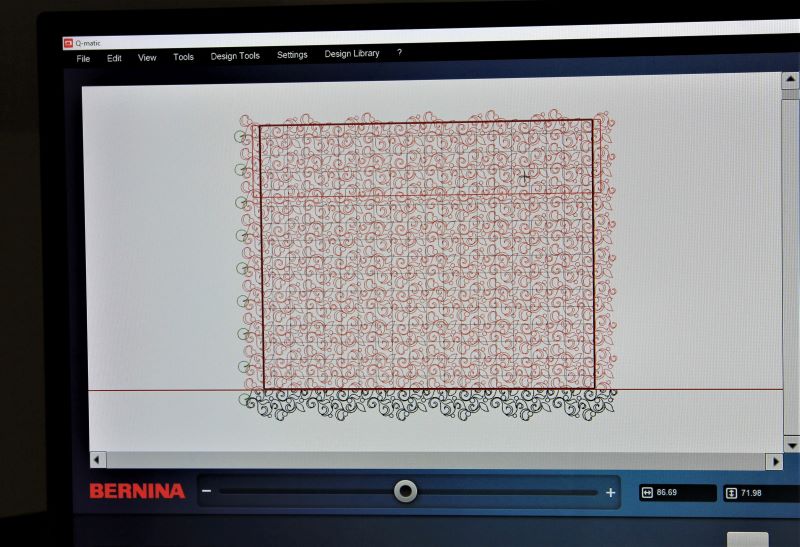
Now, this row of patterns is multiplied vertically, using the functoin “Multiply” as often as necessary , depending on the height of the Quilt, ..
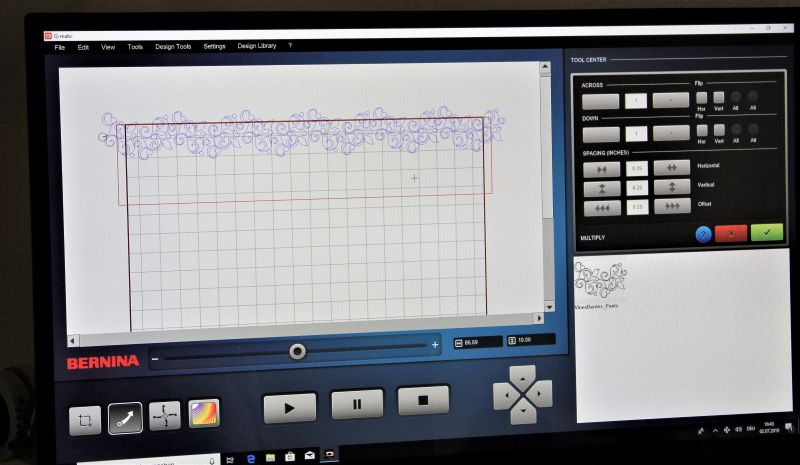
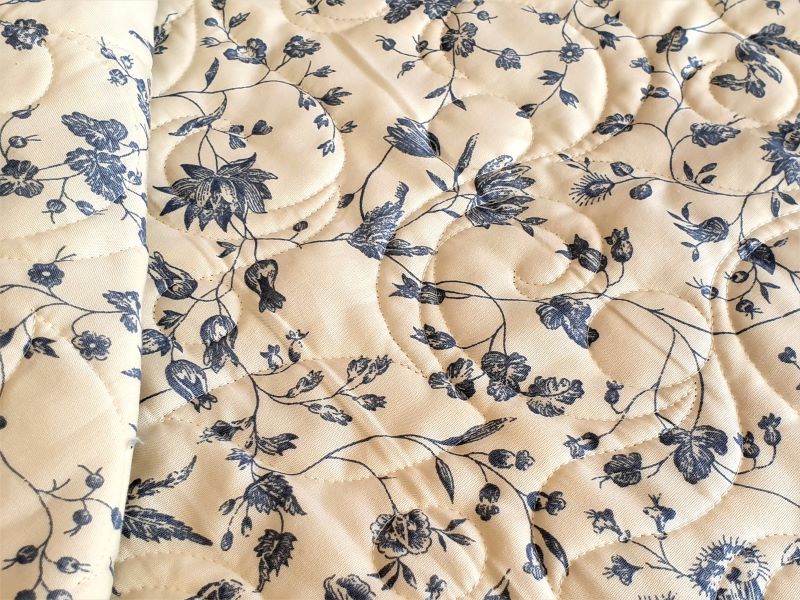
With the function “Multiply” I also have the opportunity, to define the distance of the individual rows to each other, and wheter to compress the pattern or not. . I decided for a “nationwide” pantograph pattern.
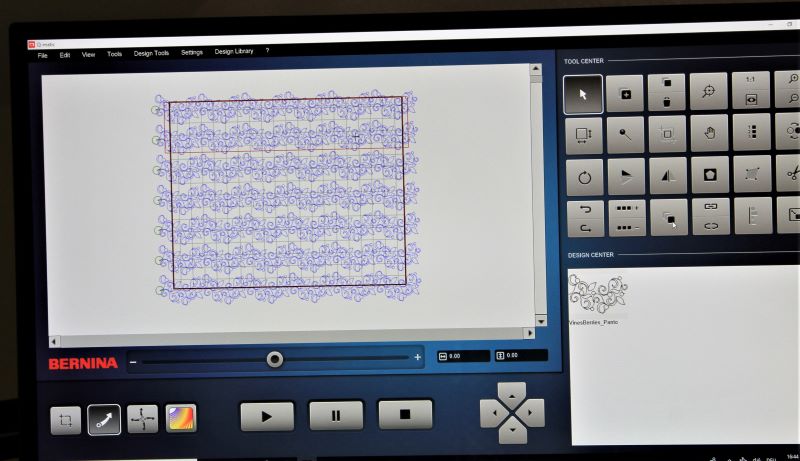
In the final step, we focus on cutting off the protruding pattern parts. With the function “Trim” I do this for each side.
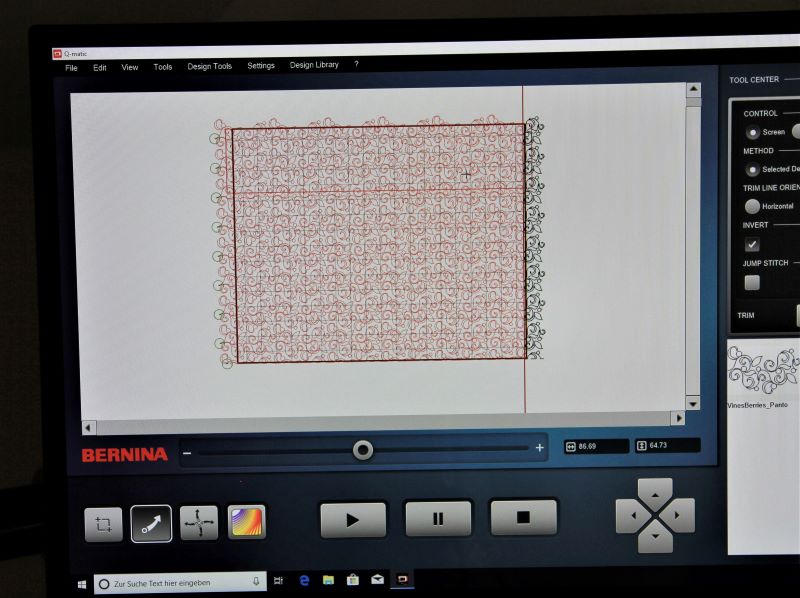

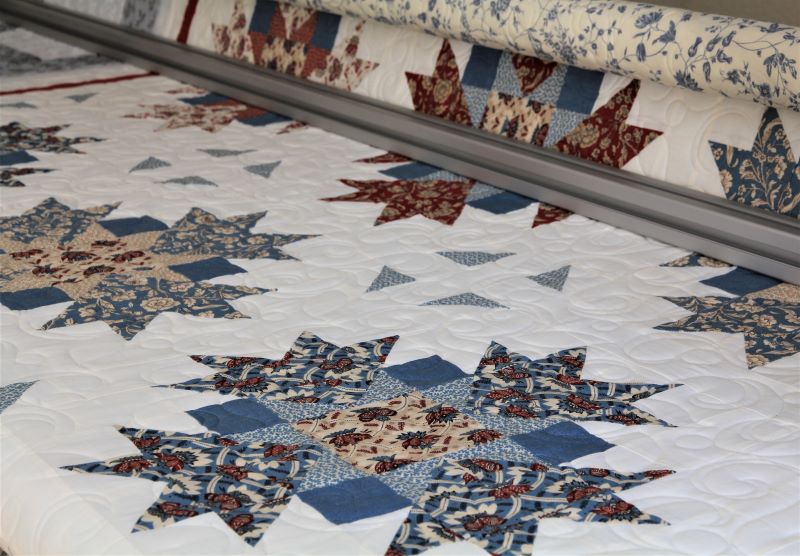
…. and also above. Now it all looks like this: The quilt is complete with the pattern “aligned ”:
A click on the arrow below “Start” and the fun begins!
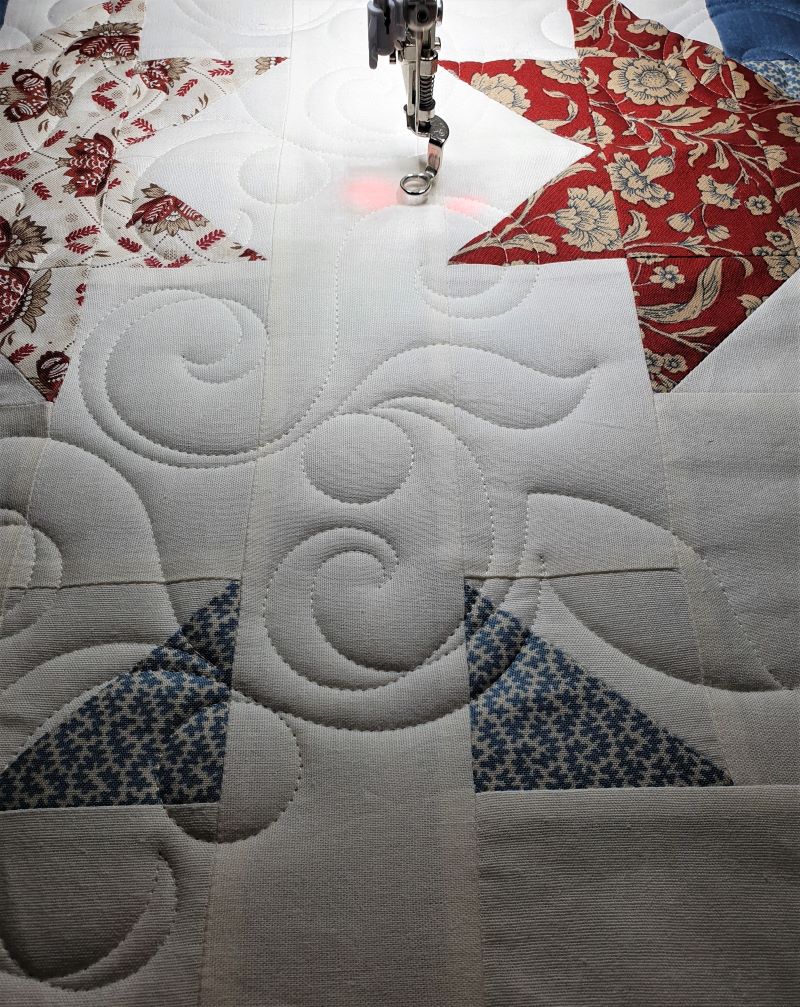
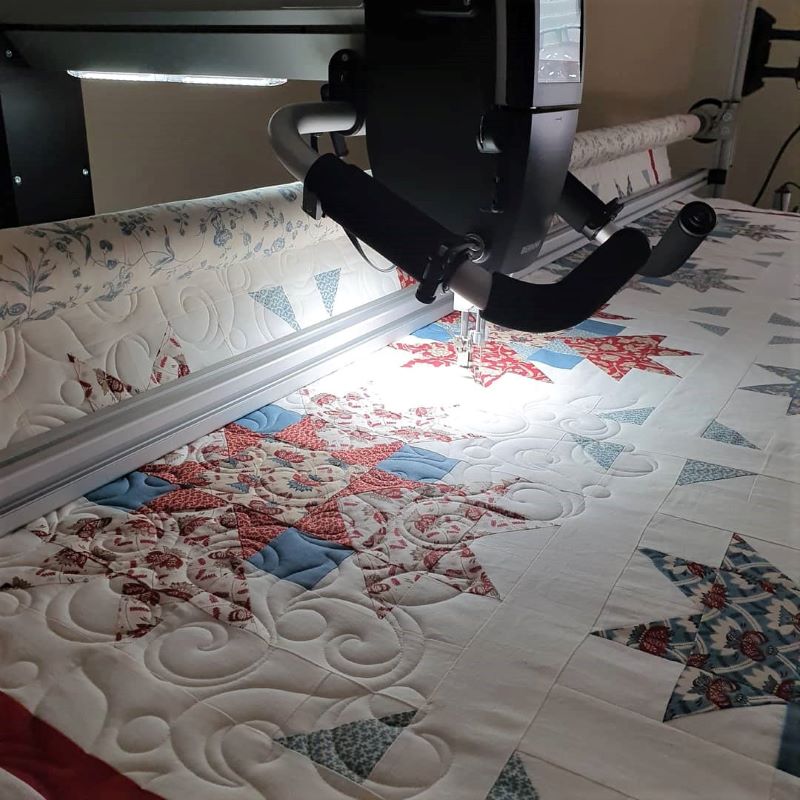
Smiling, that I had done this for the first time and the Longarm actually started its work, I stood next to it watching.
In fairness, I must confess, that my smile now and then disappeared. As the lower-thread bobbin was empty, I mildly paniced. Or as a drop of oil “had to be submitted”. Or as I decided, after the second tear of the upper thread, , to change the needle. If the computer can find the last position again?
Oh yeah, he finds the last needle position correct back!
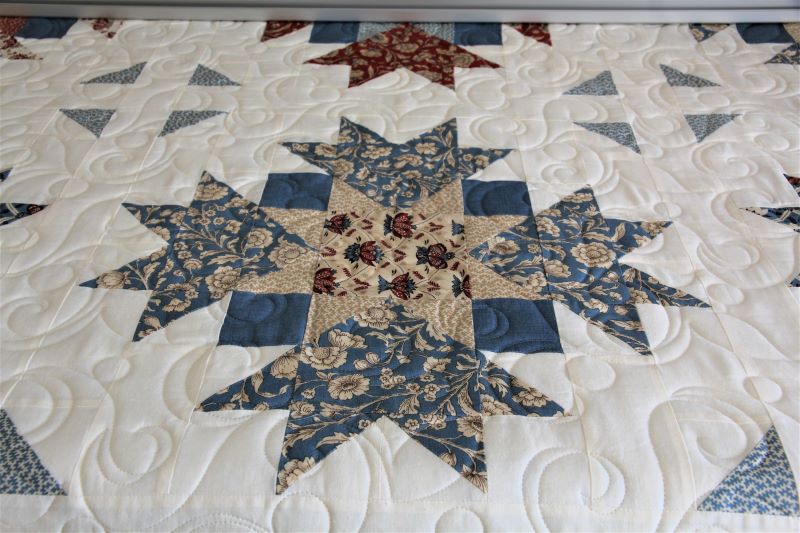
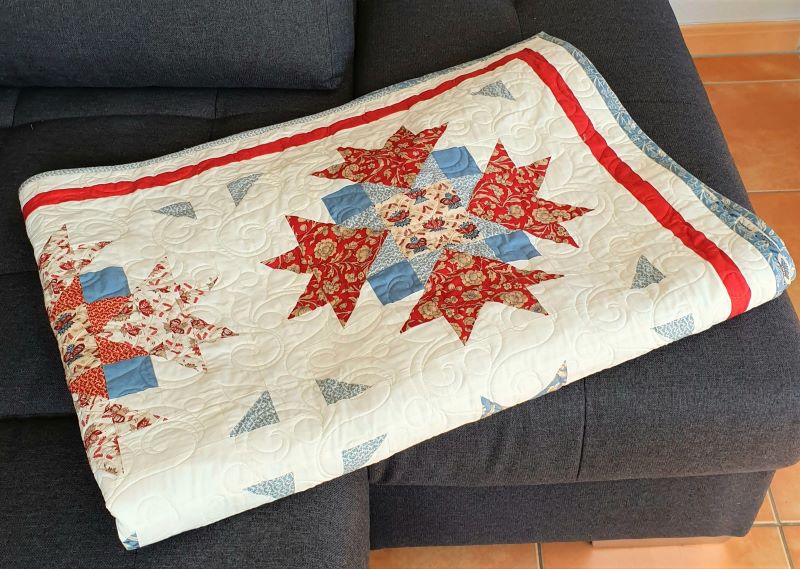
My conclusion: I am thrilled. Of course, an additional pantograph is no longer needed. One is simply more flexible in design. Moreover, individual blocks and borders can be quilted more precisely. I won´t do without my beloved ruler and free-hand quilting anyway. All in all, the Q-matic a perfect match!
I wish you a great weekend!
![]()