My world needs pillows #1
Get started with Foundation Paper Piecing
(This post includes unpaid advertising)
In early January our group , the Rosesquilter from Zweibrücken, had a a joint sewing weekend. I have used this day, under the expert guidance of Nicole, sewing on paper, Foundation Paper Piecing, to learn. For a long time I avoided this type of sewing, for whatever reason…. Now I am absolutely thrilled with it. Also, when you have to rethink something when you start sewing, the sewing result is super well. And you can sew blocks, that are simply not feasible with the normal method.
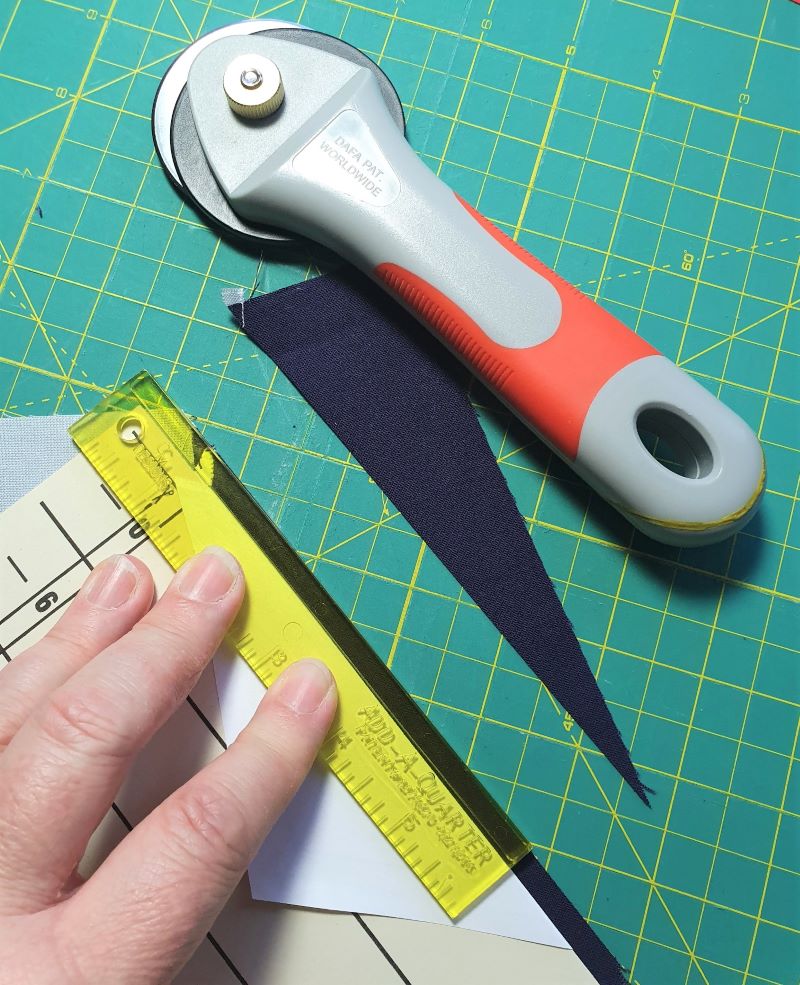
AAs a beginner at FPP (I mean) you make it easy for yourself and use plain-colored fabrics: So you can concentrate on the sewing method yourself and havdon't pay attention to the right fabric sides. And I work according to instructions, which specifies the exact size of the individual pieces of fabric (for the time being less brain sport for the brain). You also need a rotary cutter, a cutting mat, one “Add-A-Quarter”-Lineal, a scissors, a postcard or another thin cardboard and, of course, a block template, the, what you want to sew.
This year I am sewing at “Paper Chain BOM” by Lee.A.Heinrich . The twelve blocks, there is one every month, which are sewn on paper. At the end they are put together to form a quilt top. The instructions for this quilt you can buy here www.freshly-pieced-quilt-patterns.myshopify.com/collections/current-quilt-alongs for example. Since I currently working on some quilt tops , this time I'm going to sew pillows out of the individual blocks.
Enough of the preface, let's start:
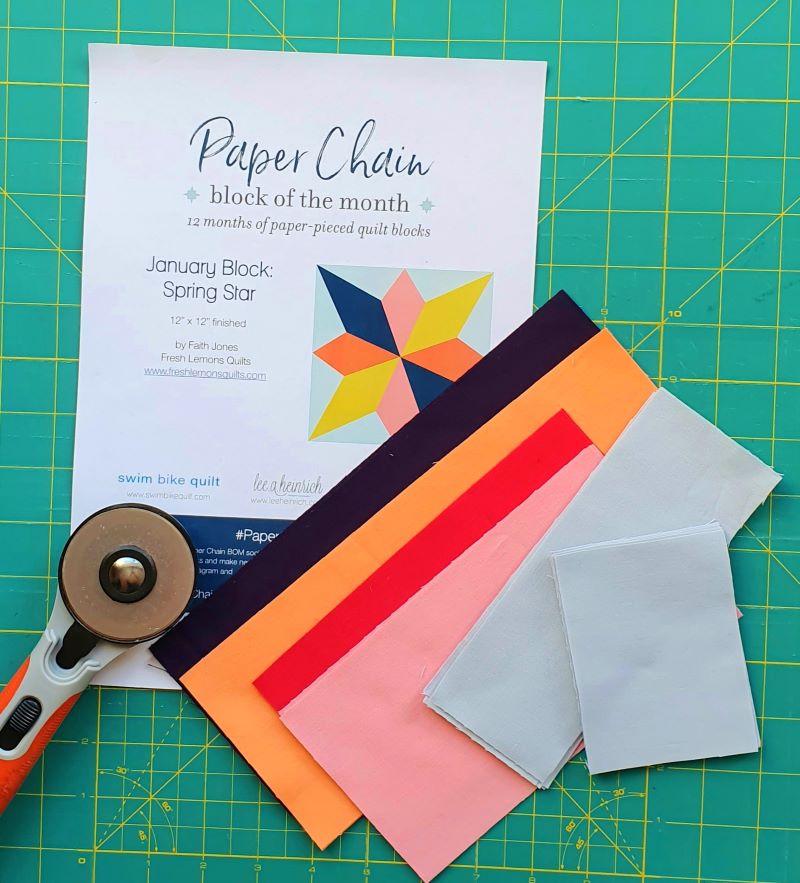
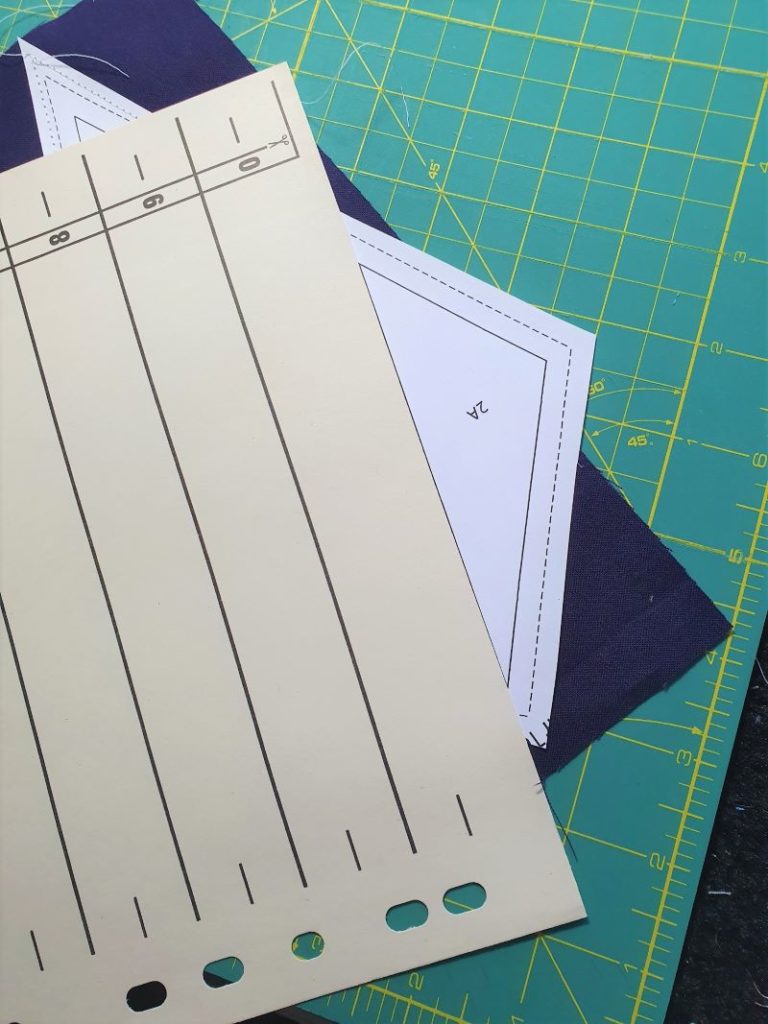
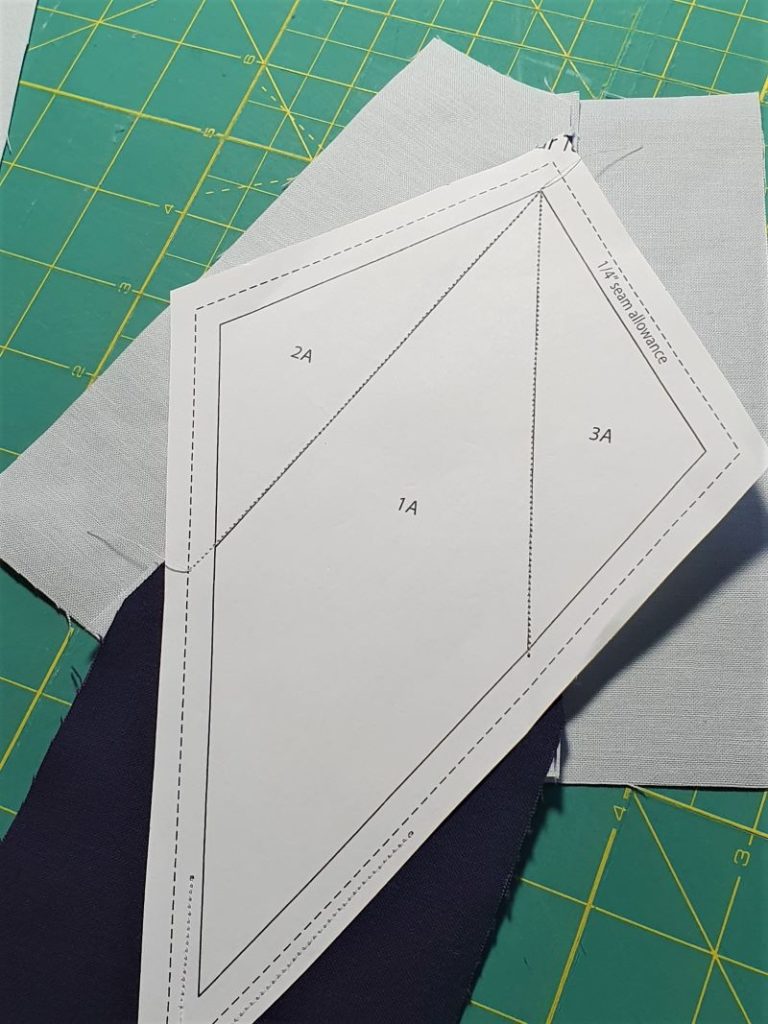
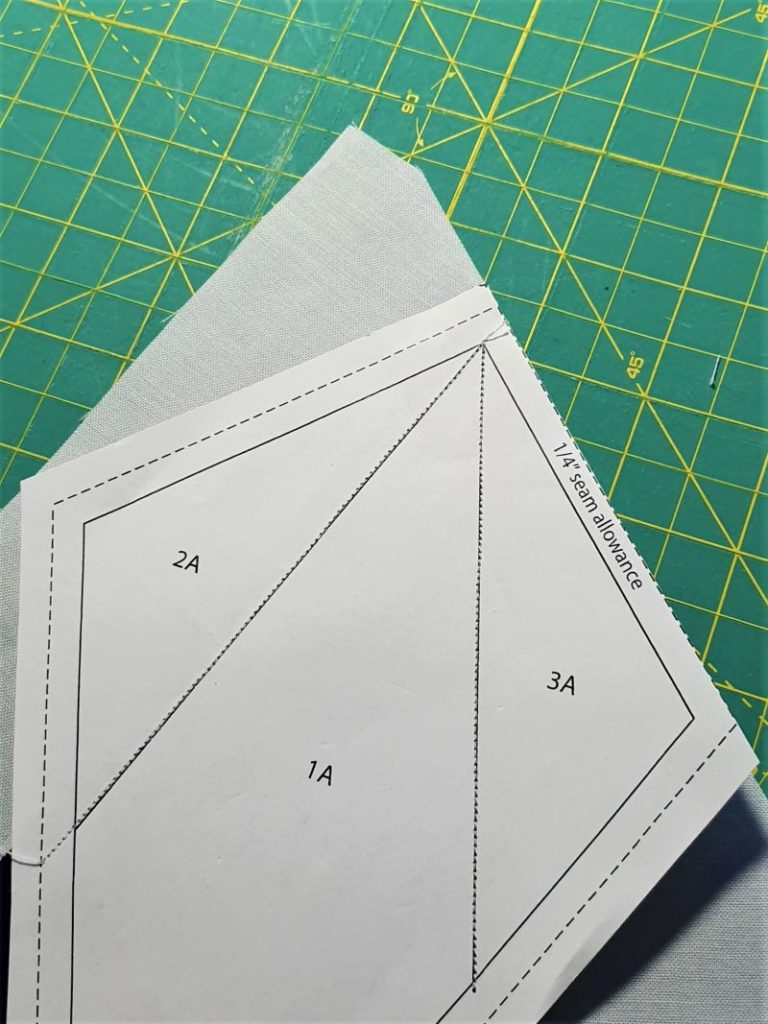
This is the first block with the, according to the instructions, pre-cut materials. I copy the required paper documents to normal, not too thick copy paper. For the FPP method, there are special paper. But for me as a beginner that's enough.
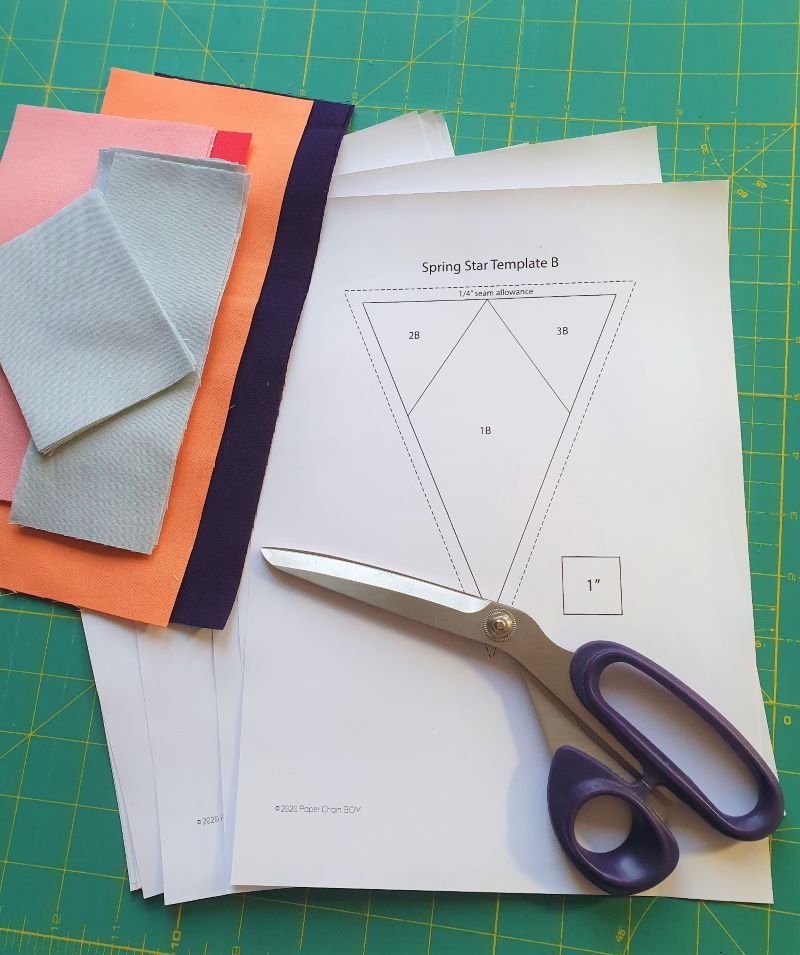
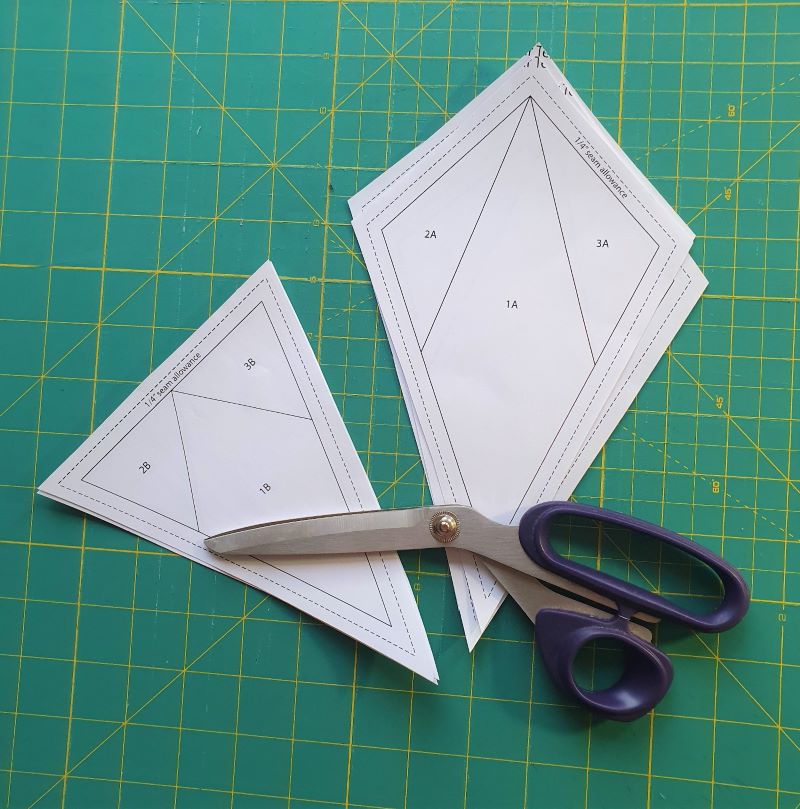
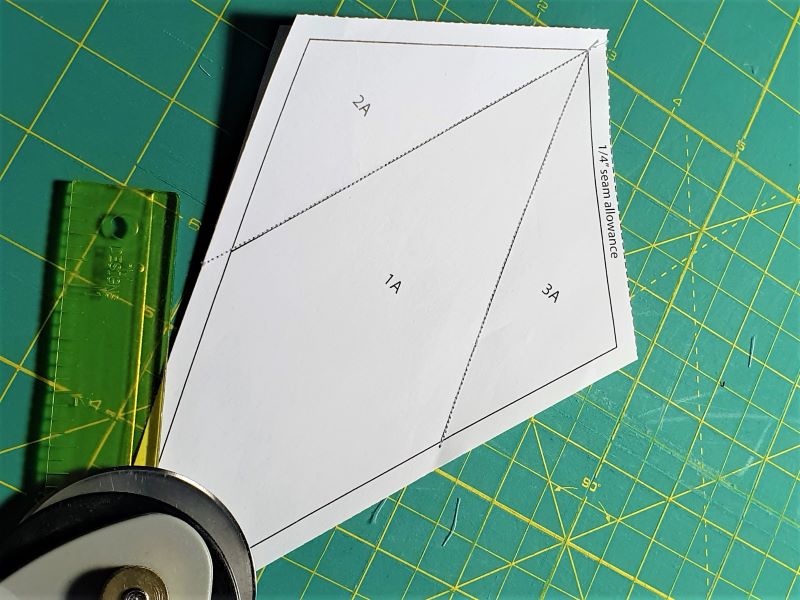
Now I cut out the individual blocks. However, I cut them out slightly larger, as me the dotted line (seam allowance) purports. It is my “security zone”.
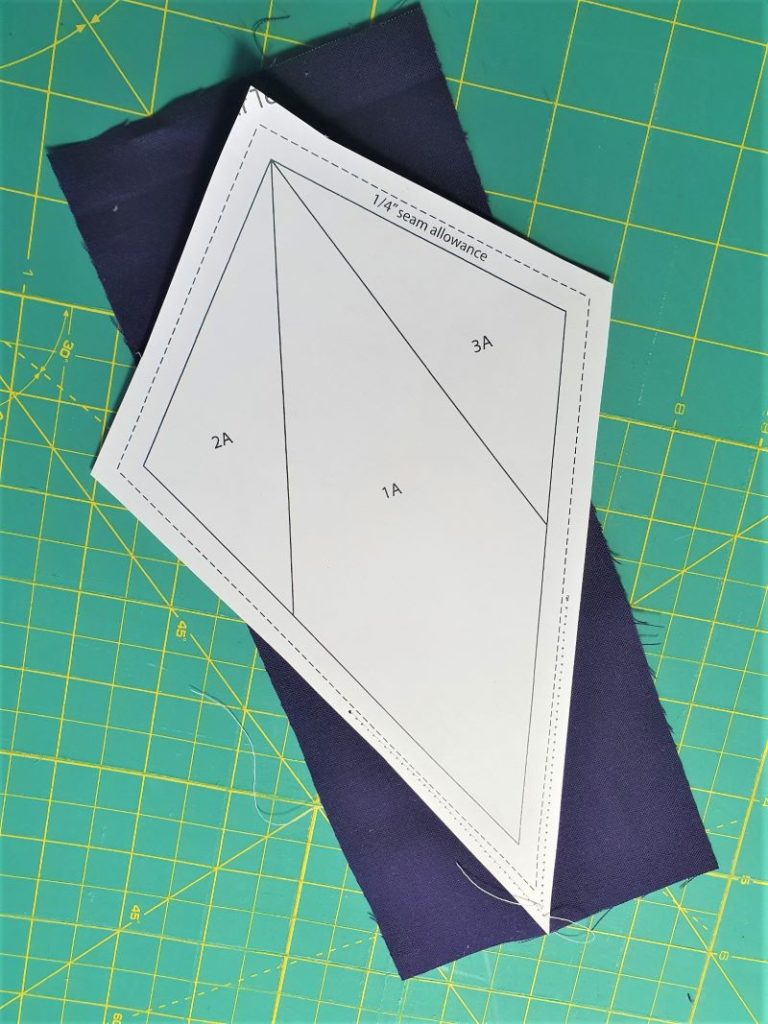
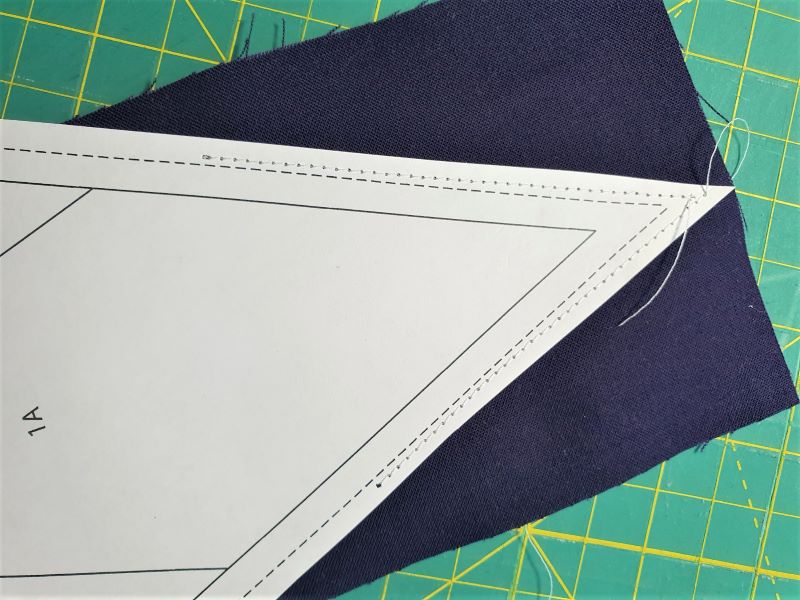
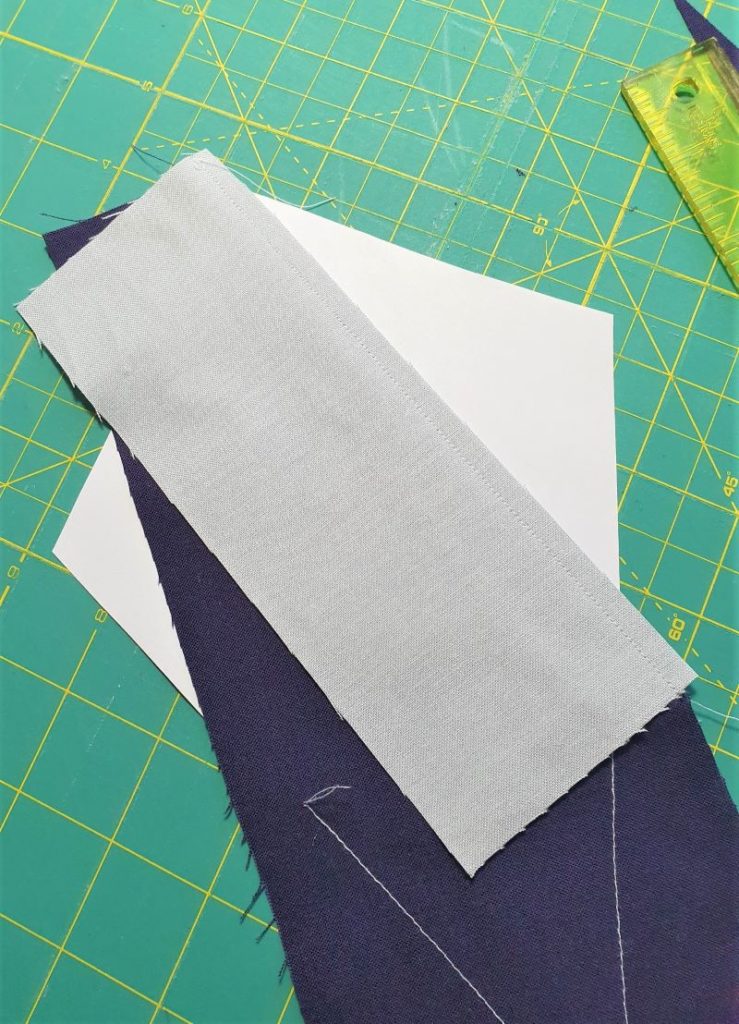
I take the cut piece of fabric for area 1A and put it under the first paper. The fabric must cover the entire area 1A and the associated seam allowance.
So that the fabric does not slip, you can attach it to the paper with a pin. However, the needle always somehow bothers me when sewing. Especially, if the area is small. That's why I got used to it, attach the first piece of fabric to the paper with a small auxiliary seamr, where it does not bother later, and is cut off at the end. This will certainly not always be possible with more complex FPP work. But at the moment it makes my learning process easier.

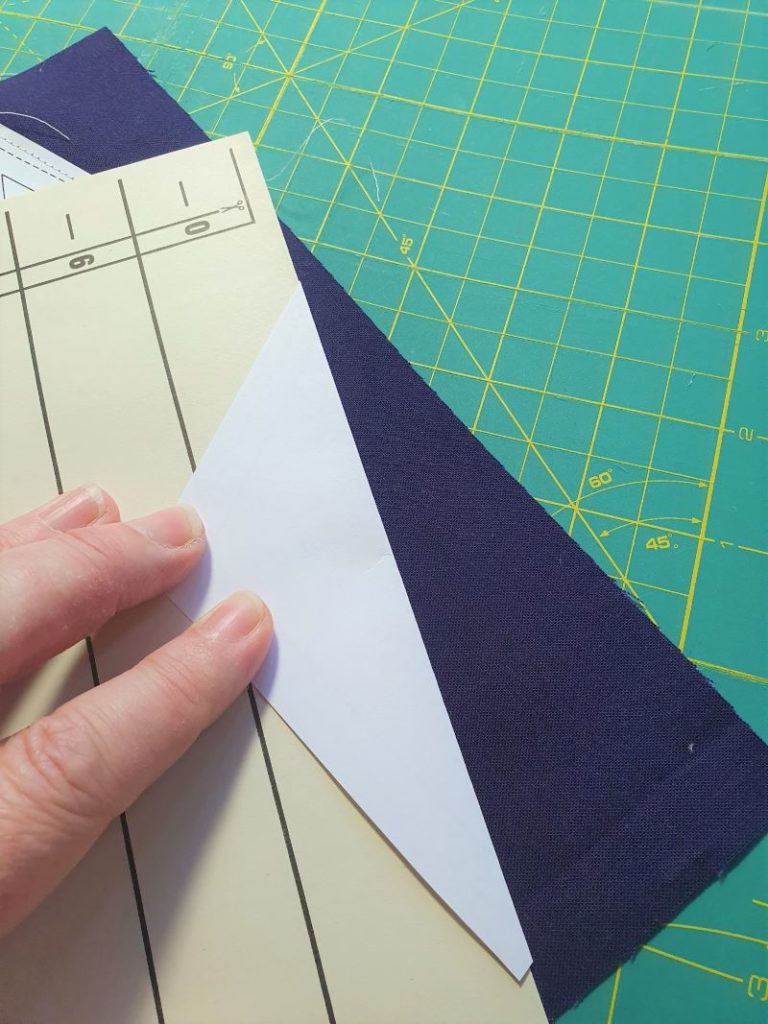
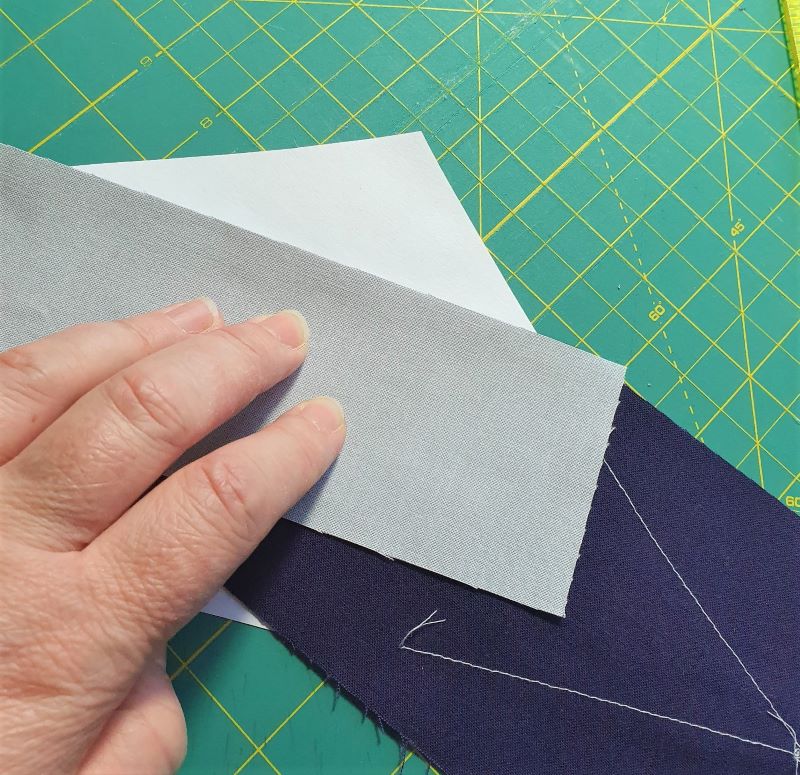
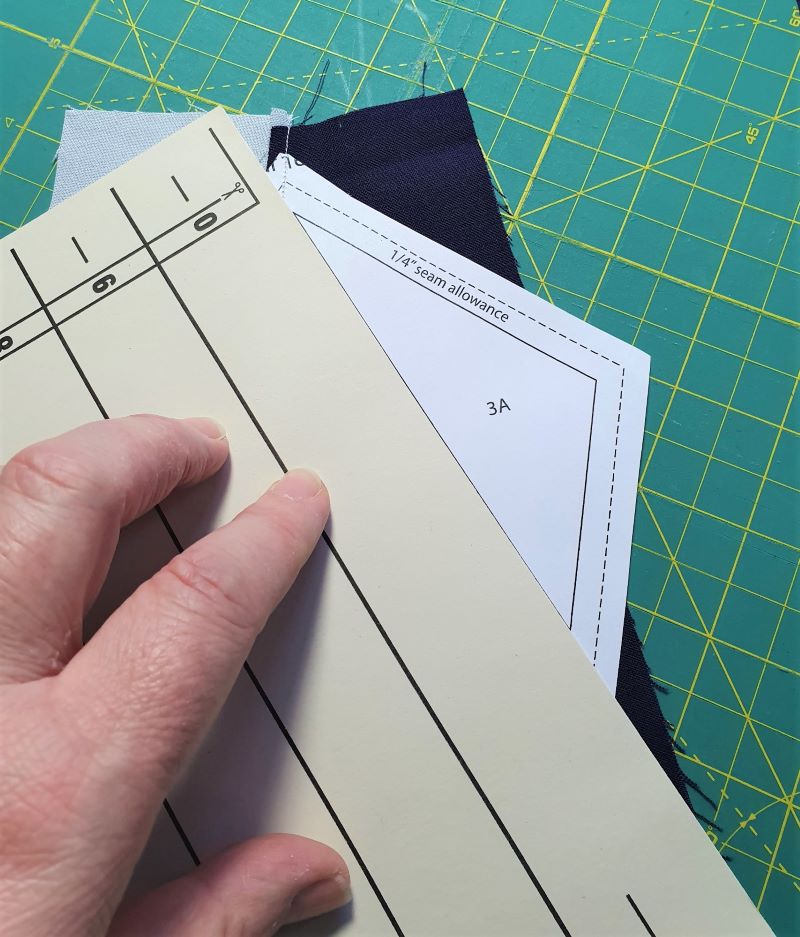
Now the cardboard is used. It will be exactly on the line between surface 1 and area 2 placed. This line is our future seam line.
Hold everything firmly with your left hand and fold the paper over the cardboard to the left.
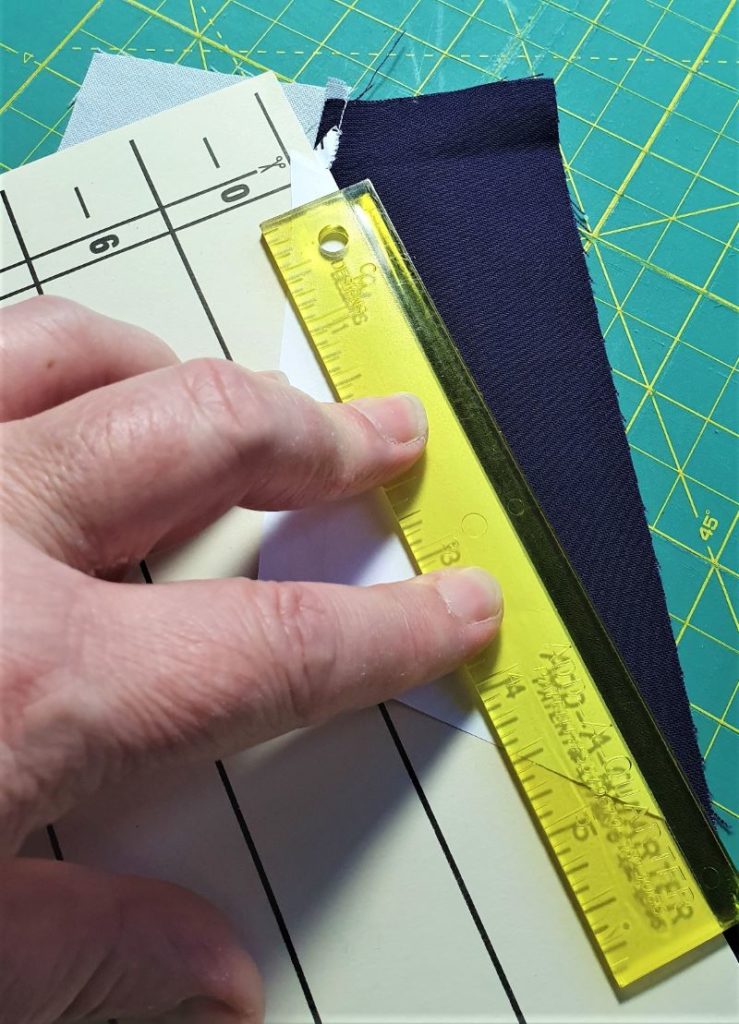
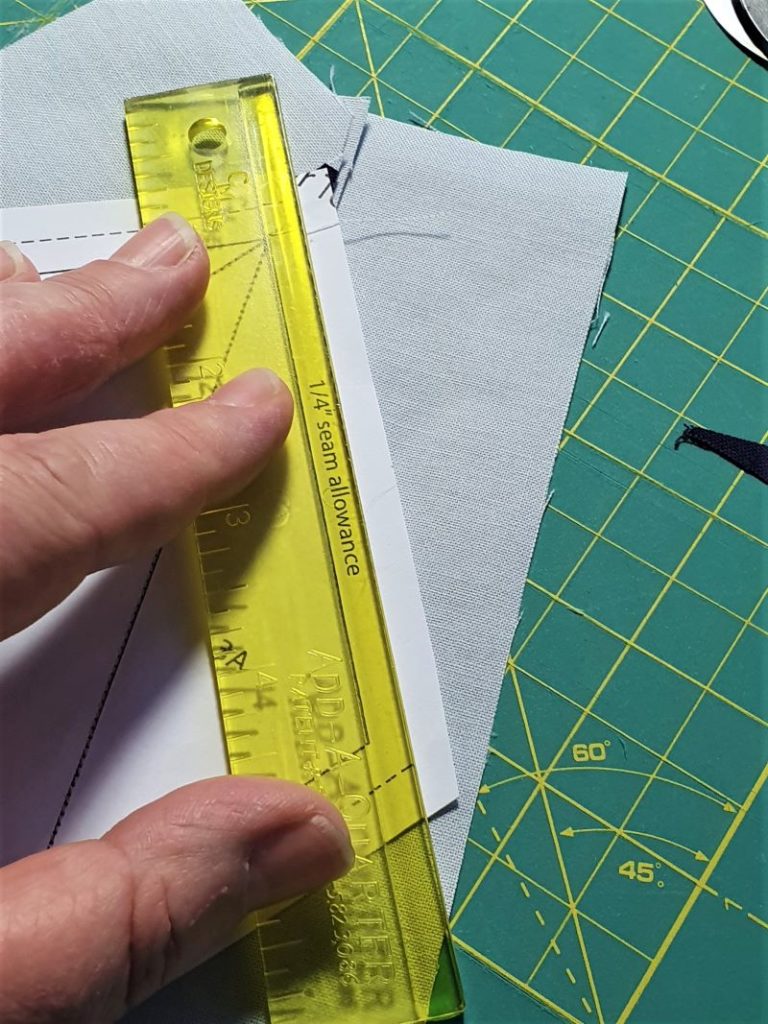
Now the ADD-A-square ruler is used. As you can see in the picture, there is an increase on the right. This means that it fits snugly against the crease edge and cannot slip. The increase is exactly 1/4″, so seam allowance, wide.
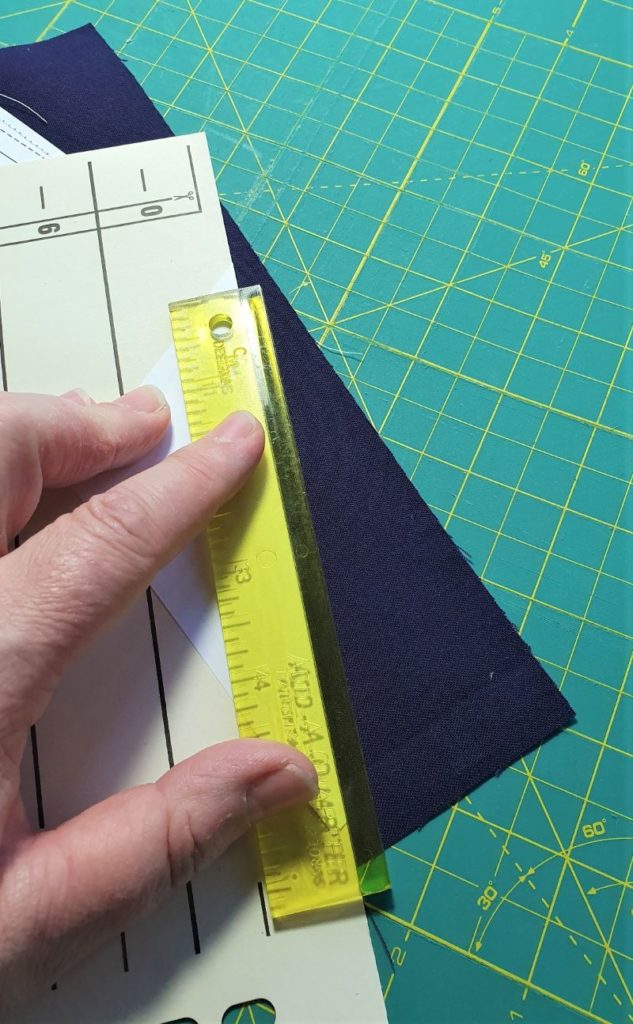
The excess fabric is cut off with the rotary cutter, the cardboard removed, the paper folded back and everything turned over (The paper is down).

The second piece of fabric must now be placed exactly on top of the first. You have to be careful on the right and left, that the second part completely covers the intended area, if it is knocked over later.
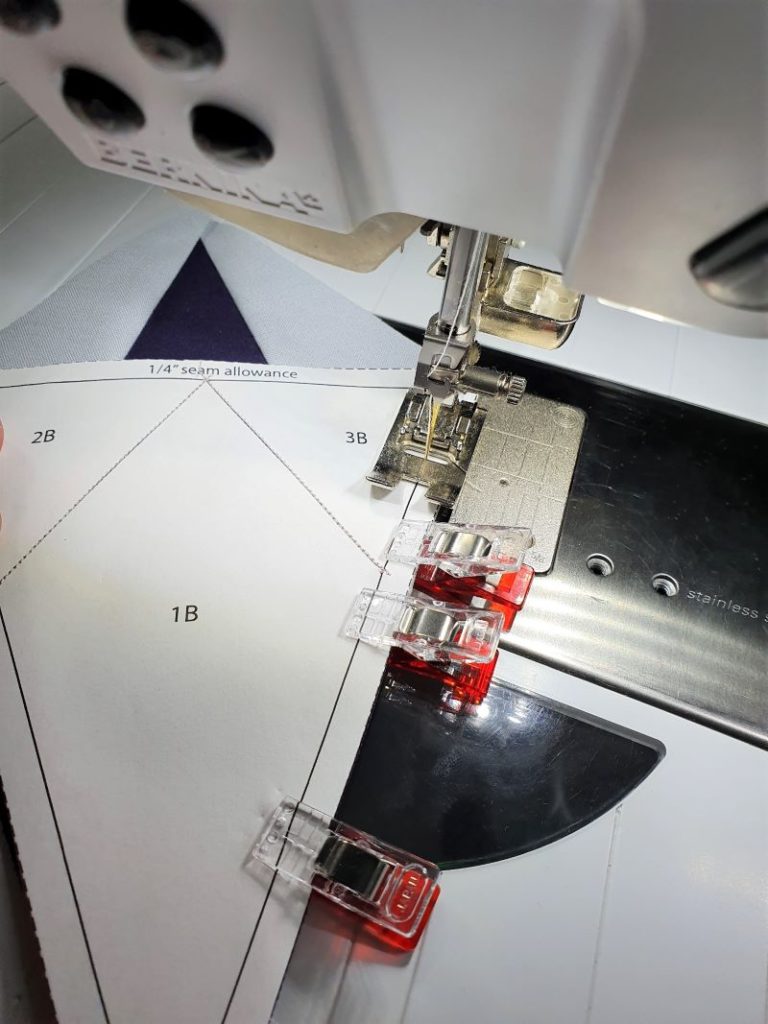
Hold everything firmly and place the fabric down on the sewing machine. The parts must not move! So that the paper is well perforated and I can easily remove it later, I have chosen a stitch length of 1,5 mm.
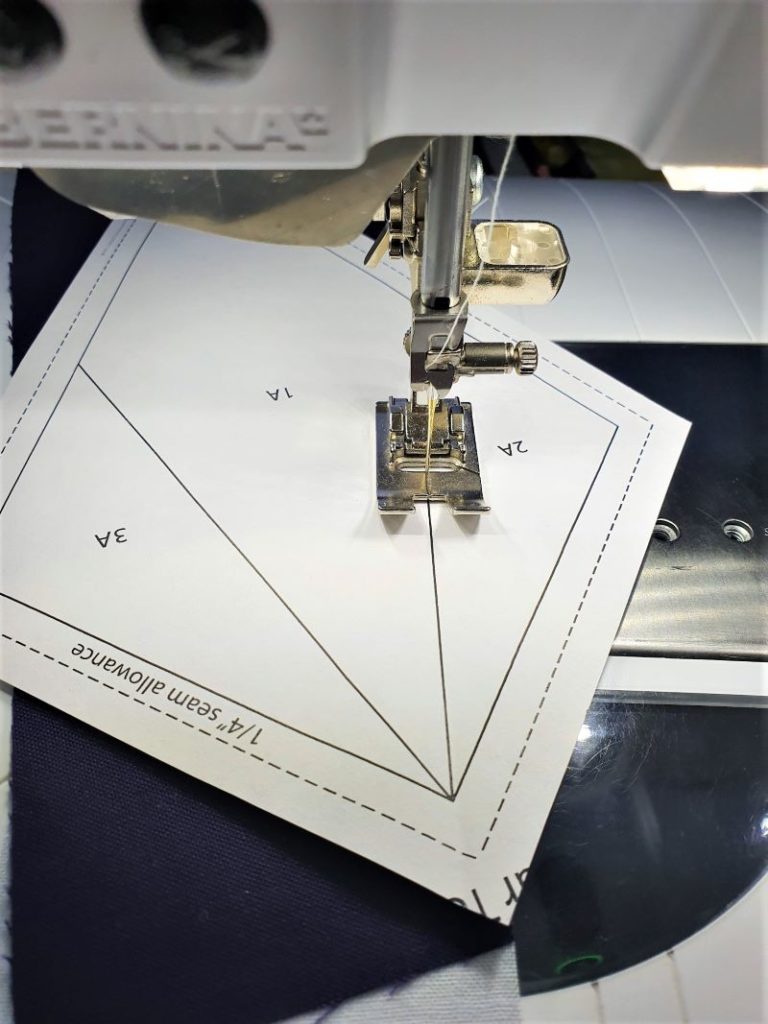
At the beginning and at the end of the seam, that is the continuous line between surface 1 and area 2, I always sewed a stitch or two stitches across the line, to secure the seam.
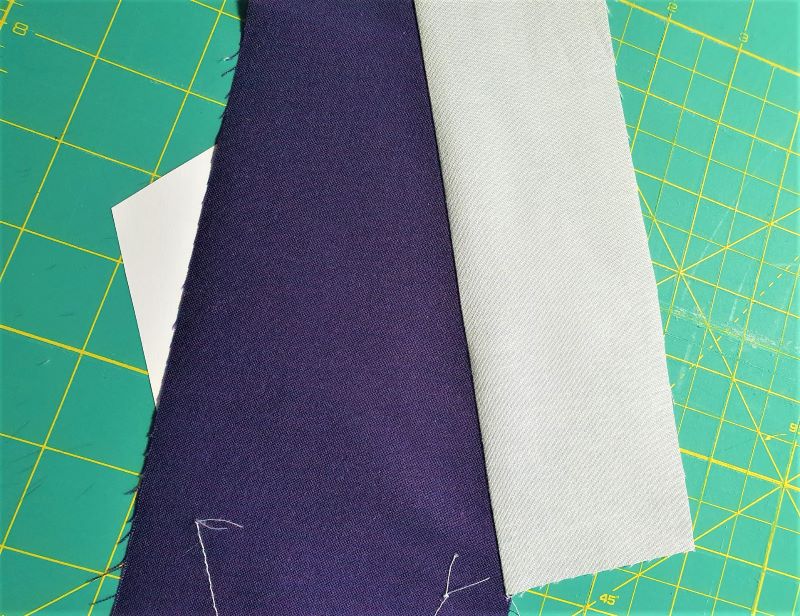
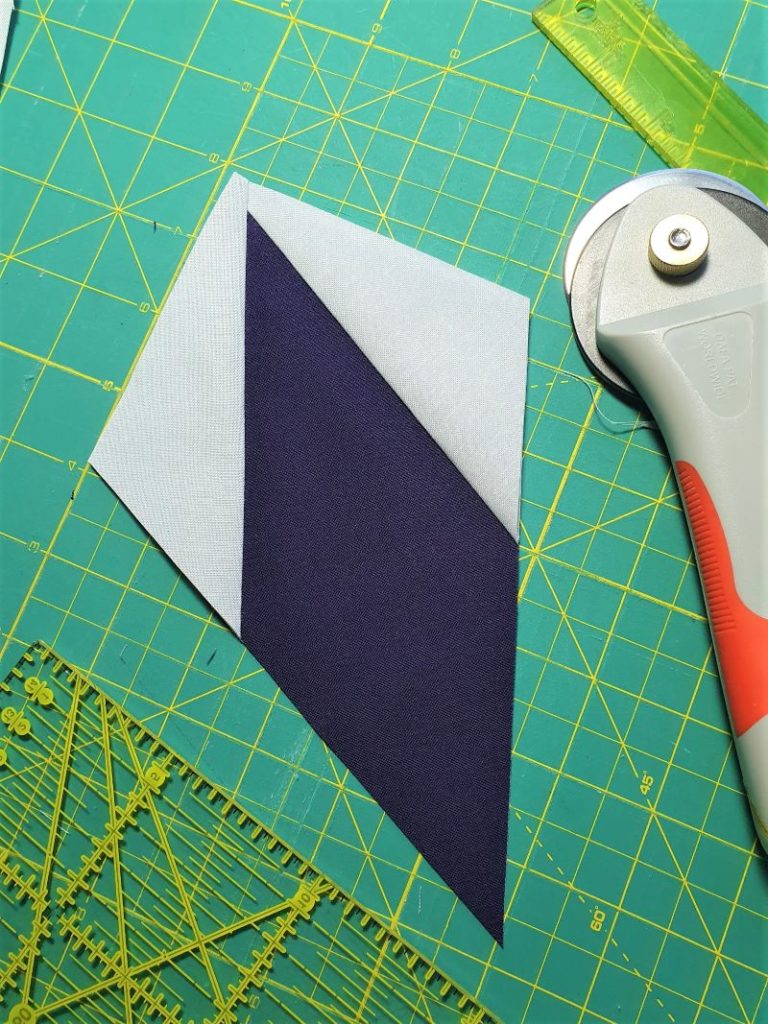
So it looks like:
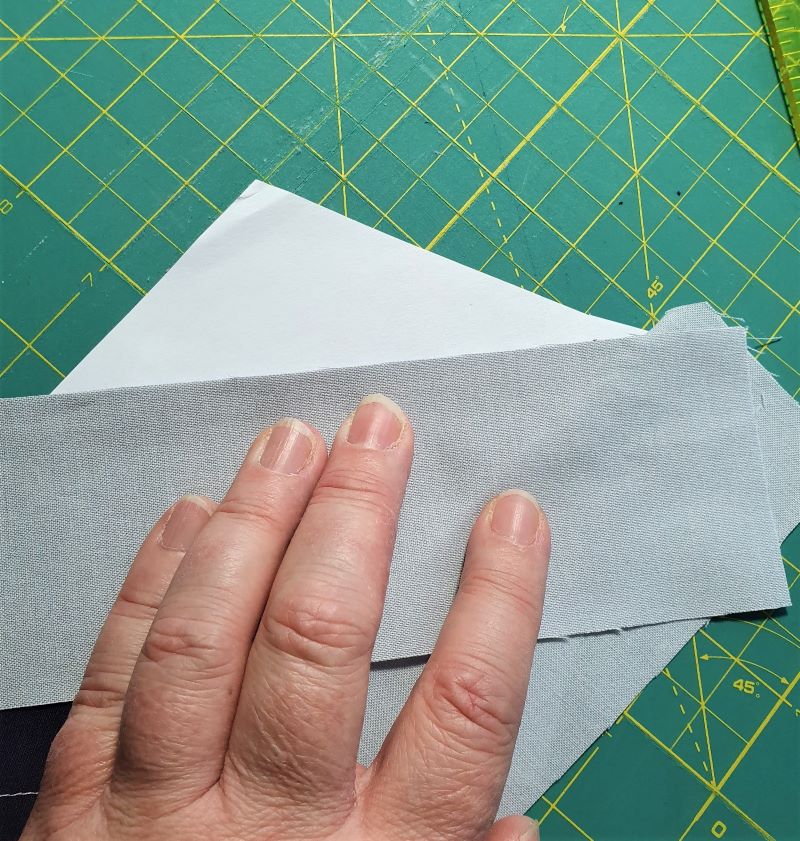
The gray fabric is beaten back. I smoothed the seam with my fingernail. Of course there are also special seam rollers for this.
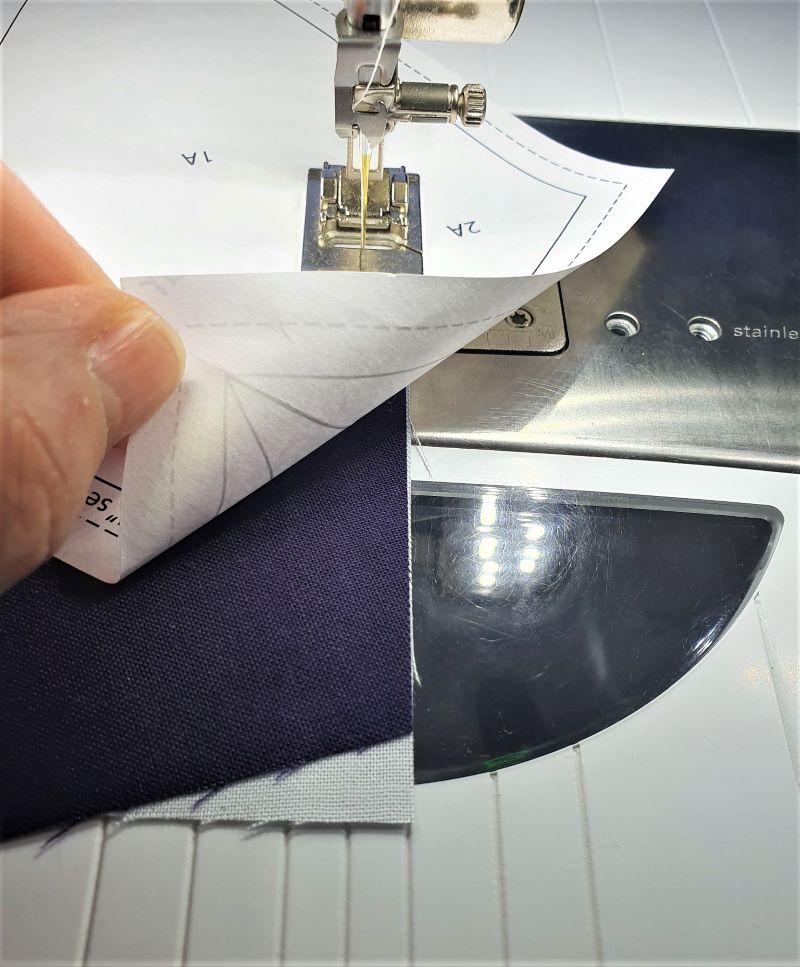
The next part continues: turn everything over again, so, that the paper is on top, put cardboard on the line, fold the paper over the cardboard to the left….
…. Place the ADD-A ruler and cut off all excess fabric and fold the paper back.
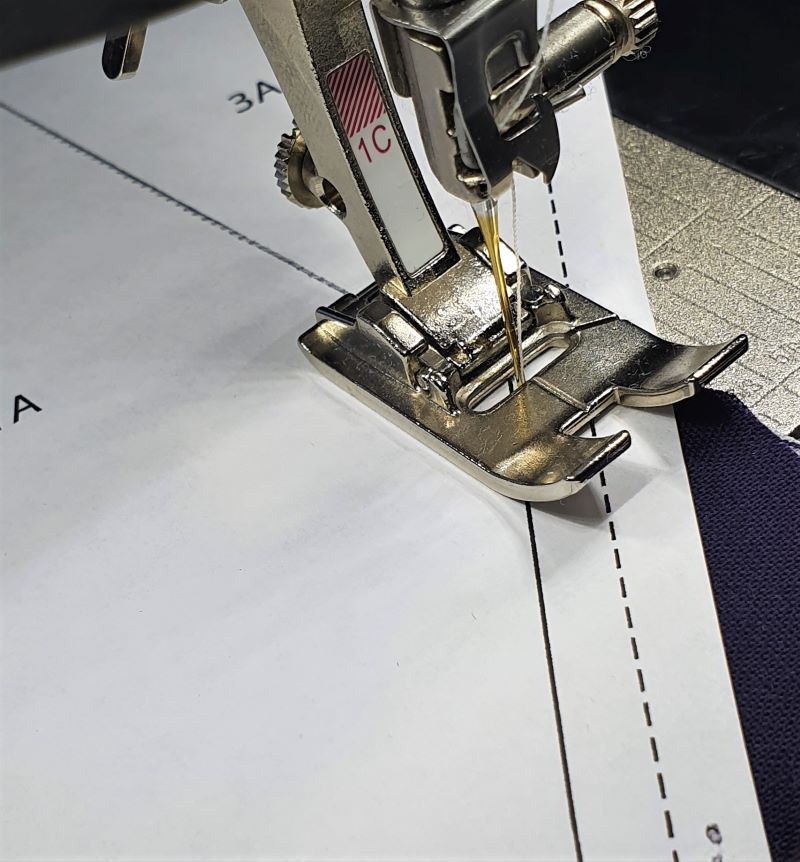
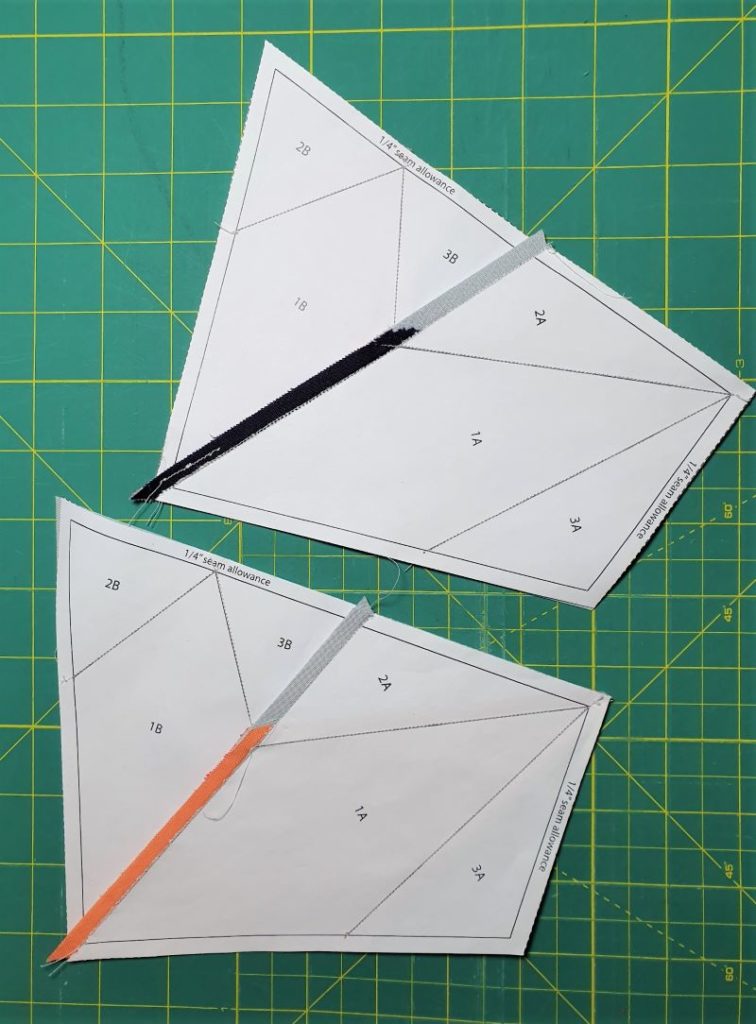
Put on the next piece of fabric and sew it, as shown.
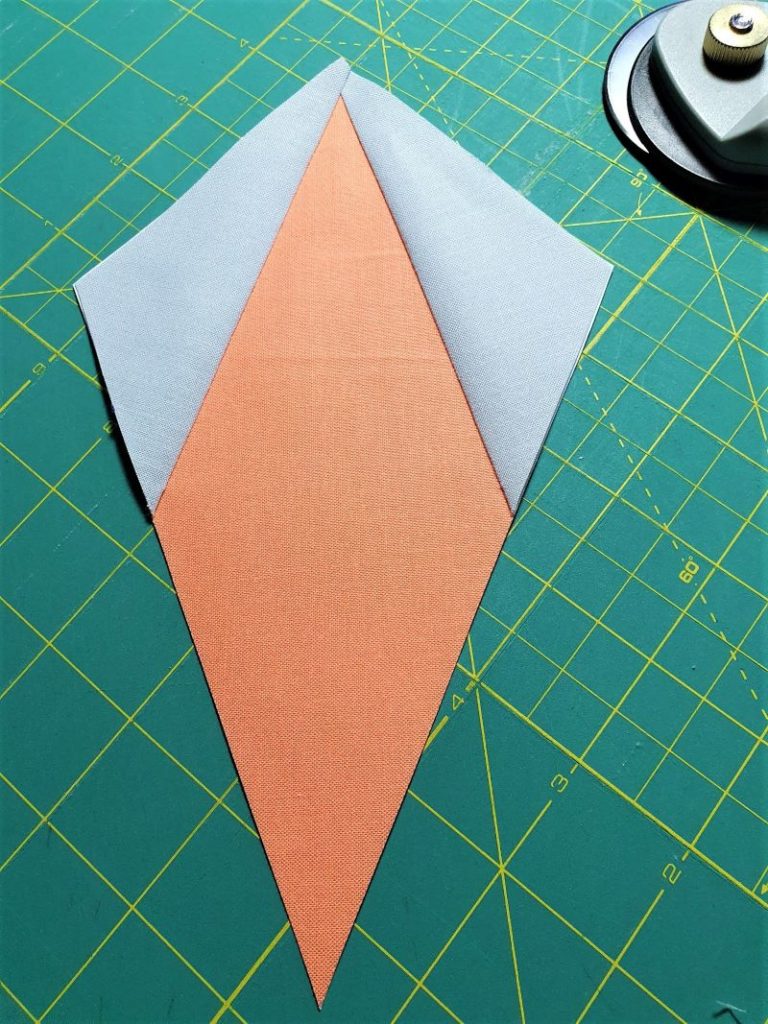
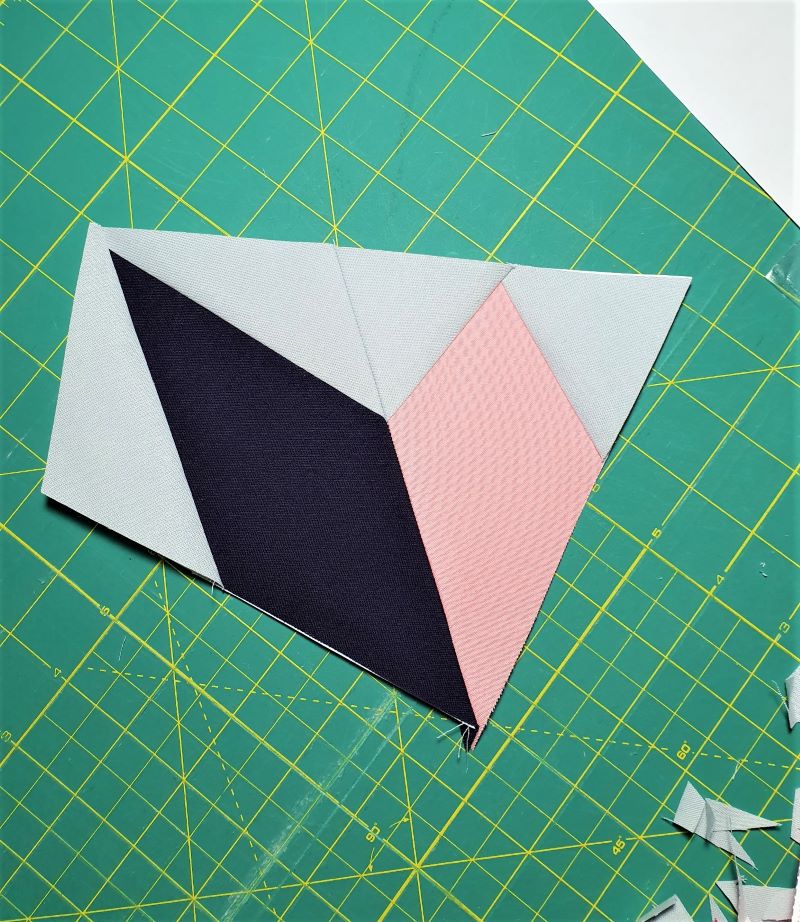
After, the third piece of fabric is folded back, the whole thing looks like this:
I now take the ruler and cut my “security zone” with the protruding fabric parts back to the dashed line
That is, the finished block from behind….
…. and from the front:
I repeat this process with all parts of the block.
When sewing the individual parts together, I mark important points, where, for example, seams meet, with a pin.
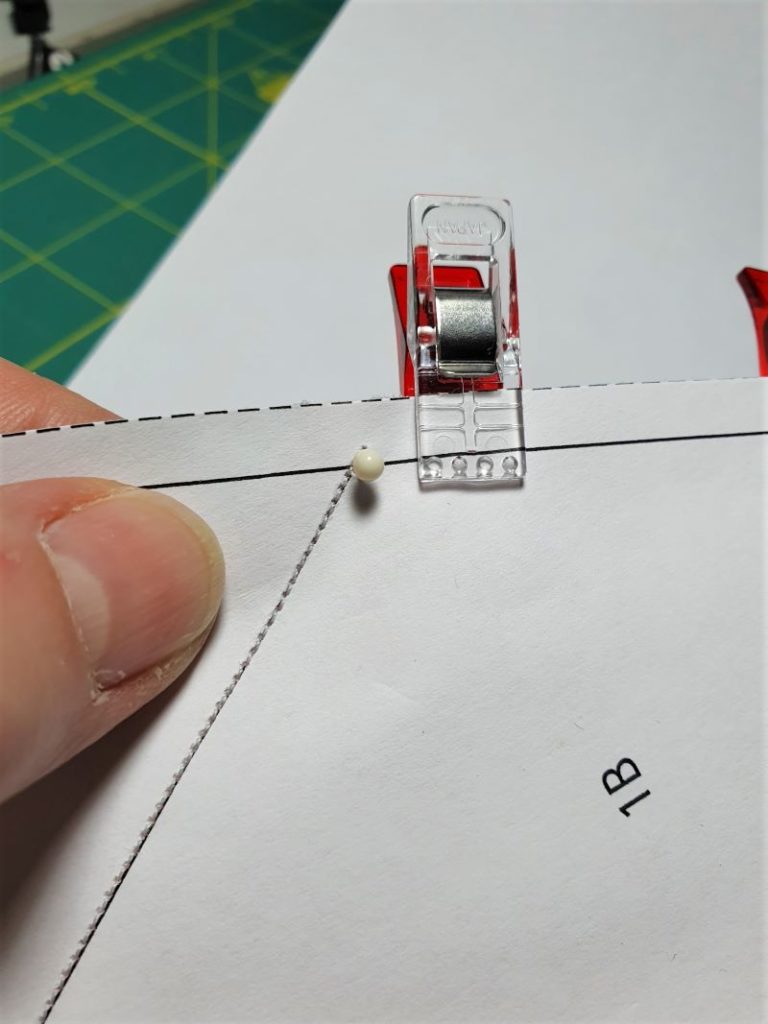
All parts are gradually sewn together and the paper is removed in the seam allowances.
After I iron them down. Since the paper is still on the fabric and is ironed, you have to make sure you have a clean iron! Otherwise your fabric will quickly become full of ink!
I ironed the seam allowances all in one direction…

... This means that the seam joint in the middle of the star does not become too high.

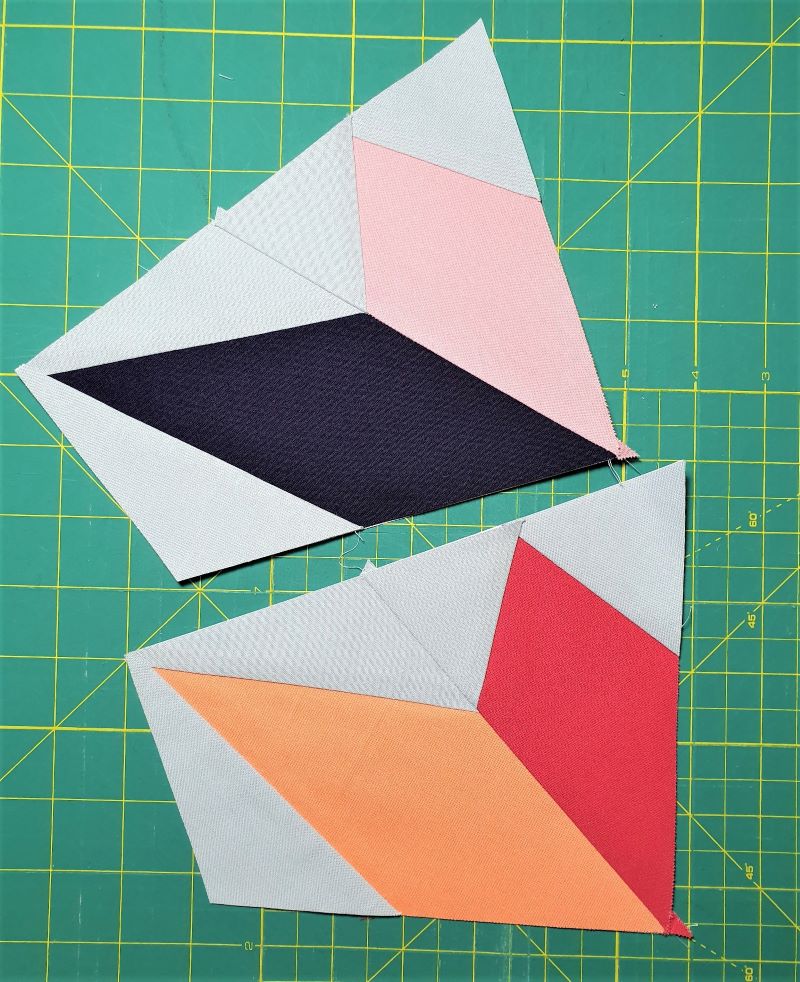
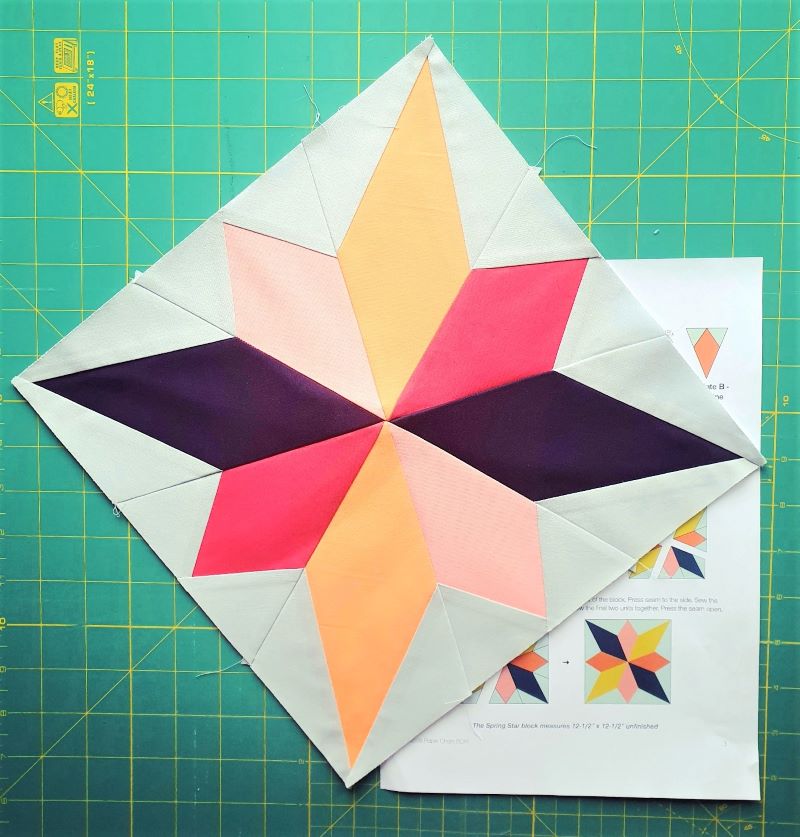
This is my first block. He has a size of 12″ x 12″. The middle was not perfect, but for a beginner, the thing is acceptable. The block is given a surrounding edge and is then quilted. But more on that in the next blog post.
There is still a lot to tell about the FPP method. I started with a simple and clear block, to understand the principle first.
I'm honest: this is addictive! The next FPP fan was born! Thanks Nicole!
I wish you all a great week!
Your Ines
![]()